Hello!
I took my sabbatical week off during the week of April 18. It’s been a couple of weeks, but I wanted to show you the block printing and sewing projects I worked on.
I take every 7th week off to relax and do things I don’t normally have the time to.
It’s kind of scary to take a week off so regularly, because, I often feel I need to be making $$ and can’t afford to take a time off. BUT, it’s important for me to make the time for reflection and recharge on a regular basis. It’s been one of the best business strategies I’ve taken! (You can learn more about what the mini sabbaticals are all about here.)
Sadly, I’d been sick with a cold for a couple of weeks and was behind on some work stuff, so I ended up working a little bit during my sabbatical.
But I also made sure to do something just for fun!
You probably know I’ve been practicing block printing on fabric for a while now.
I love the whole process of designing a block to seeing the prints on the fabric. Time just flies by when I’m engrossed in block printing!
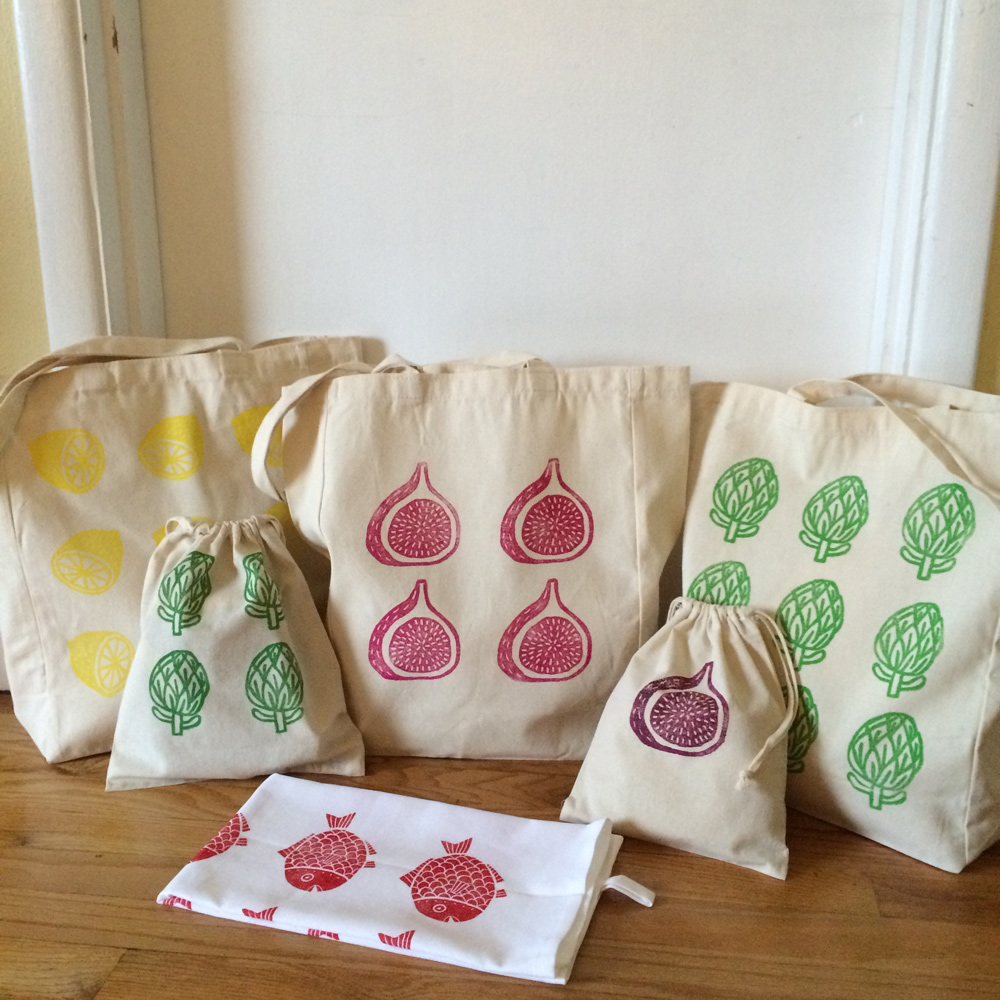
But I’ve also been feeling a bit burnt out on making block printed products, like tea towels and bags.
Considering all the hard work that goes into it, it’s not very profitable, and frankly, printing the same things over and over got old pretty quickly.
I was afraid I was losing the joy of block printing.
While I continue to focus on developing my art product lines, I’ve been focusing more on producing things that are easily replicable, like art prints and greeting cards, and moving away from block printing for production.
But a lot of people like the block printing aesthetics, so I started teaching block printing on fabric workshops recently at a local art studio, and I really enjoy it!!

By the way, if you’re in Seattle area and want to join my class this summer, I just posted new dates on my website 🙂
With that being said, I still love to do block printing and want to continue practicing. I think for now I’ll be teaching more and block print for personal enjoyment rather than making products.
For this sabbatical week off, I decided to make a garment from my block printed fabrics!
I’m not good at sewing – I’d hemmed my pants and made simple tote bags before. But beyond that, it seemed really intimidating.
Sewing a garment seemed particularly challenging because you can’t just wing it, right? You need to follow a pattern, cut the fabrics nicely, and all of your pieces need to match up…
I like to do all of my creative work very loosely and wasn’t confident that I could sew something I’d actually want to (and can) wear!
But, I was inspired by two of my printing/sewing heros – Sarah Golden and Jen Hewett (check out her Print, Pattern, Sew project from 2015 – It’s really gorgeous and inspiring!) and decided to finally tackle this!

I got this Japanese sewing book, titled “Making Garments by Sewing Straight Lines” several years ago when I was visiting Japan. I was naturally attracted to the title 🙂 and all of the pieces looked adorable. I’d been just admiring the pictures until now and I’m glad I didn’t throw it away!!
I chose one of their patterns for a top that seemed pretty easy.

I didn’t want to spend a lot of money for the project, so I went fabric shopping at Goodwill as per my friend Sarah’s recommendation. If you’ve never gone fabric shopping at thrift stores, they’re awesome.
I looked around their fabric section, bed sheets, table cloth, and curtains. I saw so many cute fabrics there and was tempted to get them all! But I wanted to start small in case I hated sewing 😀 and bought two fabrics.
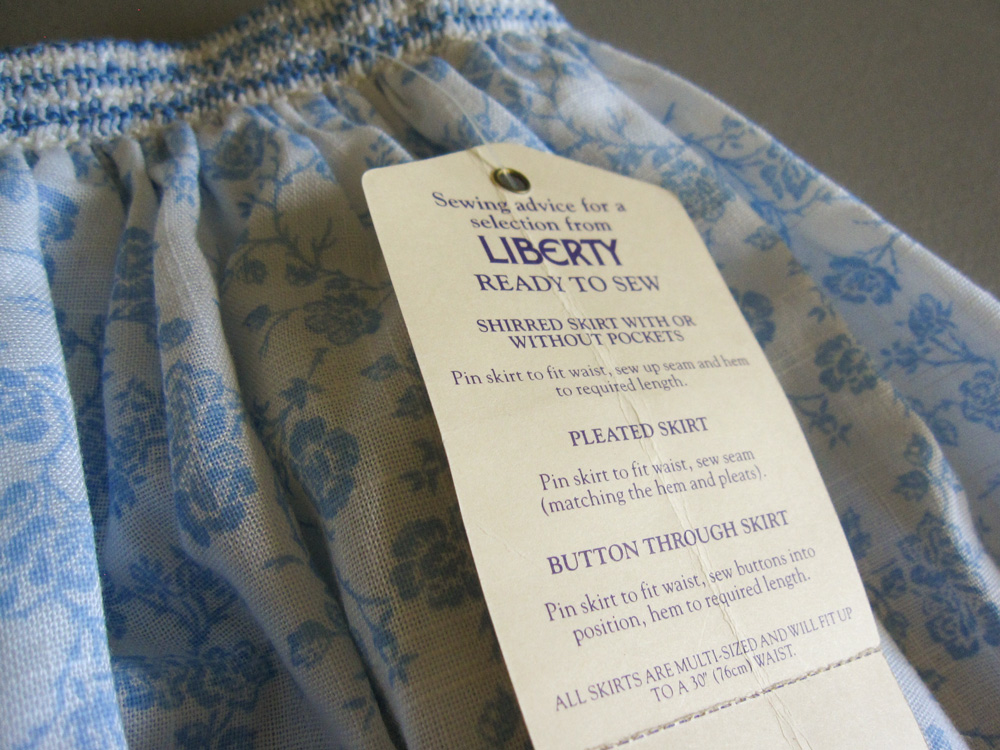
I wanted the color and pattern on the fabrics to work well with my block print design, not compete against it. So I picked a simple grey and white porka dot cotton bed sheet and a light weight cotton ready-to-sew blue flower pattern skirt.
And I got so much material for $5 each! Score!
For the block print design, I thought it would be fun to carve my recent obsession – poppies.


After I hand carved the pieces, I test print on a white cotton fabric. This is where I see areas I want to tweak and refine.
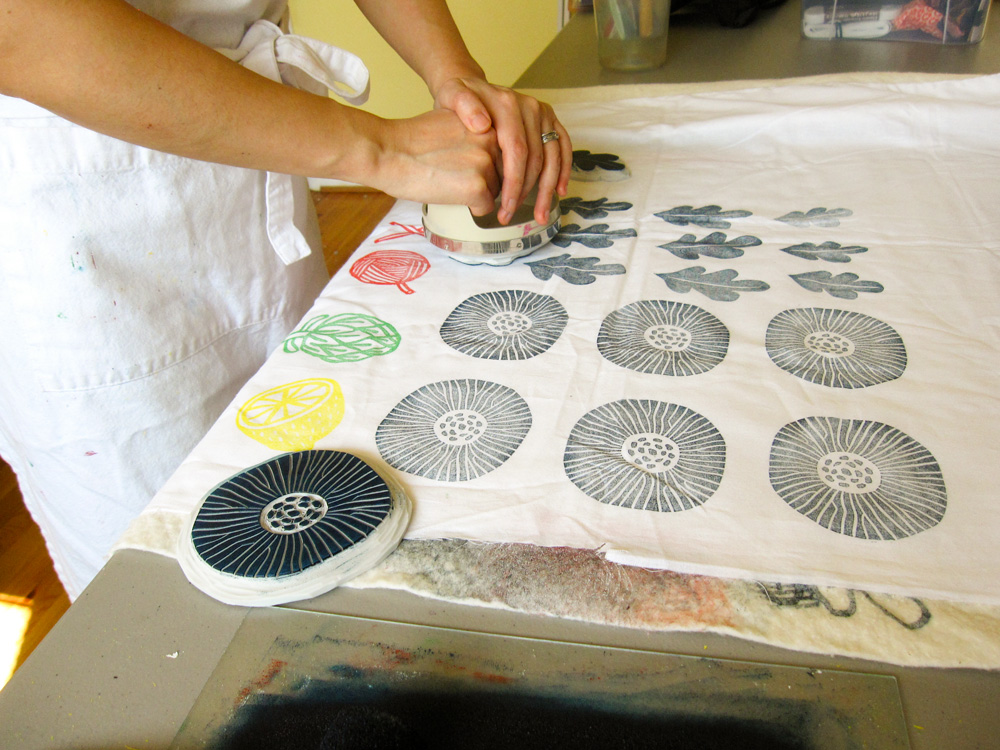
Once I was happy with my blocks, I started printing on the actual fabric I was going to make my top with!
For the fabric design, I decided to do just a simple block pattern. I toyed with the idea of incorporating the leaves too, but it just got too complicated… I believe in simplicity!

It took forever to print my poppy design on enough fabric to make one top, y’all. Then I had to air dry it over night and heat set with the iron before cutting into it. Phew.
Though I picked a very simple sewing pattern, (and the book promised it was “easy” and “quick”) there were so many little steps, and it was still pretty challenging for beginner like me. I mean, I still can’t sew straight lines, you know? 🙂
But, I didn’t quit and finished my very first hand printed garment!! Ta da!!
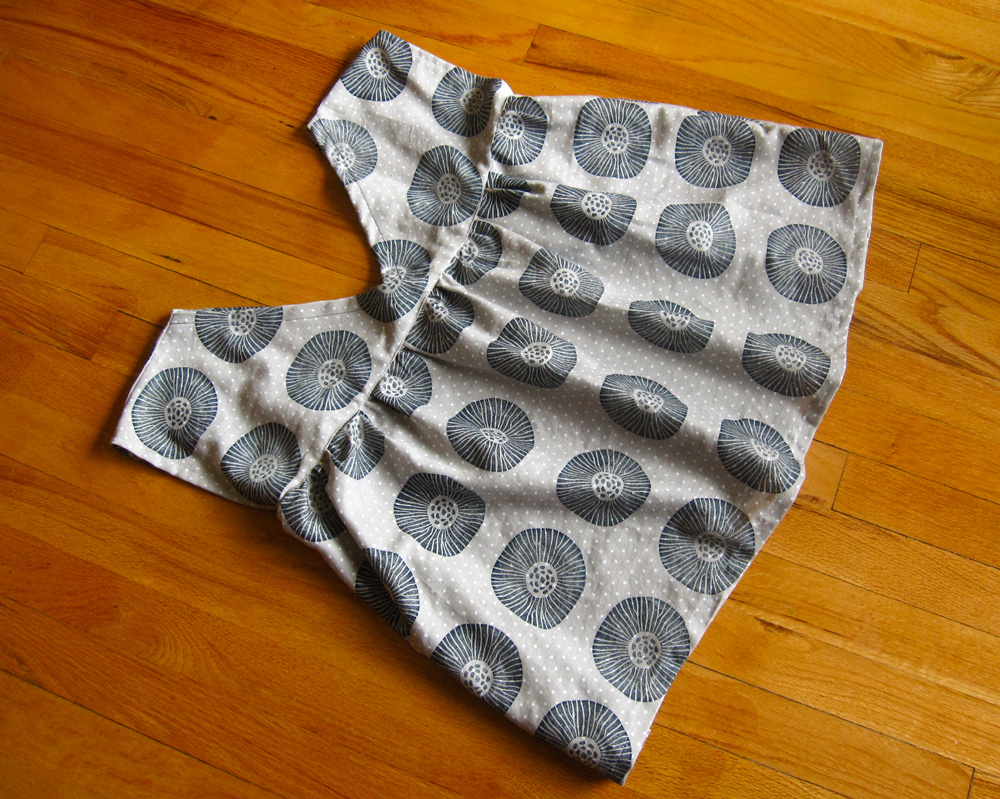
And, I love how it turned out! ❤


Of course I see all the flaws and mistakes, but it’s good enough to wear around the house 🙂 It fits quite loosely, so it would be perfect during the hot summer months.
I just hope it won’t come apart when I wash it in the washing machine… 😀
For the ready-to-sew skirt, it was a lot easier because all I needed to do was to adjust the waist and the length. No pattern required!

I printed the poppy and leaves along the bottom. Honestly, I didn’t have the time or energy to print all over on another big piece of fabric and thought it would be a cute design anyway.
Since this was going to be a more dynamic design, I incorporated the leaves to add visual interest and movement.
I sewed and attached the shoulder strap and made it into a multi-purpose dress and a skirt!

It’s super light weight and again perfect for hot summer days ahead.

It was a lot of work but (or maybe because of it) it was also very satisfying to make my own clothes with my hand printed fabrics!
I always had respect for people who can sew, but this experience definitely made me appreciate the craft 100x more!! Bravo, you sewists out there!
I’d love to continue practice sewing and deepen my block printing practice in the future.
And I can’t wait to share my process with you on this blog 🙂
xo Yuko


I LOVED your poppy stamp! WOW! I’m TOTALLY impressed with your sewing – your top & skirt. I can’t sew any at all. I mend & that’s it. Thanks for sharing your stamping & sewing journey.
Thank you!! I’m a total novice and it took forever… But it was so satisfying! Maybe you’ll try sometimes 🙂
Nice! Especially as I’ve been moving into block printing myself. And there’s especially one thing I see in the pictures that I wonder about – what is is you use to hold the rubber stamp while printing? I need that! The rubber I have (a generic kind from Dick Blick, iirc) is too flimsy so I end up making a royal mess, I’ve been wondering if I should glue it to plywood to make it possible to handle…
Thank you! block printing is super fun! Are you talking about Baren? it’s nice to have, especially if you’re working on a larger design… you can get it at Blick. Have fun!:)
Baren is that handle-thingy? I had no idea such things existed, so was quite exited to see it in your pictures. I need to see if I can get it here, if not I’ll go online and get it from Blick. Thanks!
Yup it’s quite handy! I got Speedball kind but Blick sells their own for cheaper. It works just fine 🙂
I love your block printing projects and I really enjoyed reading your post.
Thank you Amanda!