You can start shopping my original watercolor paintings every Sunday starting April 19th!
If you’re on my email, I’ll let you know in advance the exact time they’re released. You’ll also receive sneak previews via email, so if you haven’t already, sign up!
I’m super excited to offer you my one of a kind treasures!
Stay tuned,
xo
ps. Need to restock your Honeyberry Studios favorites in the meantime? Spring sale is still on, and you get 15% off everything with a code “SPRING15”🥰 (you can use the code as many times as you want!)
My most recent drawing tutorial, “Gelly Roll Folk Houses,” is on Sakura of America’s YouTube channel! I had fun with their new Gelly Roll White pens in this one.
You can watch it here:
Enjoy!
xo
p.s. If you share your work on Instagram, be sure to tag me @honeyberrystudios so I can see what you come up with 🙂
I recently made several drawing tutorials for Sakura of America, and my watercolor food drawing tutorial series are now available on their YouTube channel!
1. Let’s Draw Vegetables!
2. Let’s Draw Berries!
3. What’s on Your Plate?
I hope you check them out and let me know how you like it!
If you share your work on Instagram, please tag me @honeyberrystudios so I can enjoy your beautiful work!
Do tell me in the comment below what tutorials you’d like me to work on next! I’m always looking for ideas 🙂
I’m still really into drawing them and wanted to share my recent sketchbook pages today!
And I have a mini video at the end, so keep scrolling down 🙂
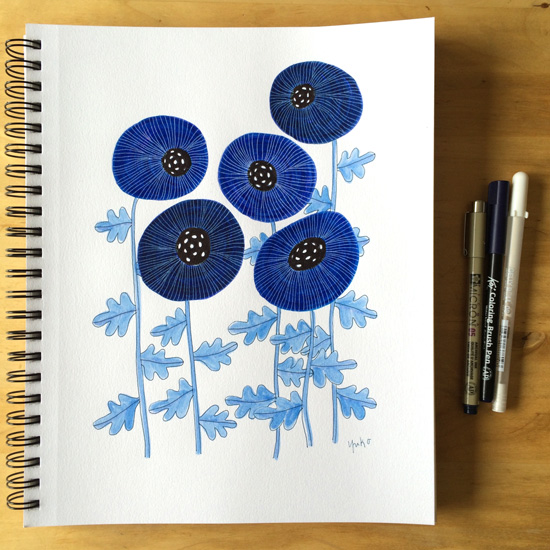
These colors really make me happy.Most of my poppy drawings are done with Micron pen and Sakura Koi brush pens!Love this pink and magenta combo!I also tried more cooler colors. This one with Micron pen, Koi pens, and white Gellyroll pen.
Darker blue poppies turned out pretty, too.
As promised, here is a very short poppy drawing video 🙂
And, if you want to learn how to draw these fun poppies, you’re in luck!
I recently made a video tutorial for Sakura of America, and this FREE video will be available on their YouTube channel soon!
I enjoyed creating the tutorial and suspect there will be many more in the future 🙂 I’ll keep you posted on when they’re gonna come out!
I shared a behind the scenes look into the DIY filming process of my first drawing video tutorial last week (if you missed it, you can check it out here.)
I made a short video introducing myself using some of the footage from that project, and I’m excited to share it with you today!
Here it is, me as a living and breathing person, talking about my work and inspirations.
Not too bad, yes?? Since I’m very new to video making, it took me many hours to put my videos together, but I had so much fun!
I just enjoy learning something new so much. I’m often fighting the “shiny object syndrome,” but I still like to celebrate the new knowledge and want to inspire my audience in new and exciting ways.
I’ll be working on a new drawing tutorial video for Sakura of America next and can’t wait to share it with you when it’s done!
Like many of you creative people, I love to learn. I love learning new skills and tools to create something new. Sometimes I set goals to learn specific skills (e.g. writing, learning a design software etc.) and tackle them businesslike, and others, like cooking and sewing, kind of happen organically.
Last October I posted a nature drawing tutorial on this blog and really enjoyed it. I’ve been meaning to do more tutorials and was hoping to venture into video making as well. And lo and behold, I was asked to be a guest teacher for the e-course The Journey Within: A Year of Handmade Art Journals hosted by Kiala Givehand in March!
I was honored to be asked, and it’s given me the push I needed to make my very first video tutorial!
I worked on it last week and learned a bunch in the process. I’m all about sharing tools and processes with you in case you find it helpful, too. For the most part, I didn’t use any fancy tools or tricks and hope it’ll make the process more accessible to you if you’re thinking about making a video yourself. This is my first time making a video, so if you’re more experienced, you probably won’t gain very much from it. But if you’ve never made one and are intimidated by it, this post is for you!
Enjoy the behind the scenes peek into my video production!
1. PLANNING
By nature I’m a planner. I like to gather as much information as possible before I get started on something new. I’ve been getting a little more relaxed about not having all the information before I start something lately, though. I know a lot of learning happens during the process of doing, and if you wait till the perfect moment, you may never start anything!
I don’t have unlimited financial resources, so I wanted to make this video without spending a ton of money and wanted to do this with things I already had without compromising the production quality too much.
I really didn’t know anything about creating a video, so I went searching for tutorials about filming and editing your own video on the internet.
Although this is not specifically about making a video tutorial, I found this Skillshare video, “DIY Filming: Creating Pro Video Using Tools You Already Own” by Mark Cersosimo super helpful! It was very easy to follow, and he has lots of practical tips you can use.
I also created an outline and scripts before I started filming so I have the clear vision of the flow and contents. I didn’t do the storyboarding, though, as I was pretty anxious to start filming. It would’ve made the whole process a little smoother if I had done it.
2. TOOLS
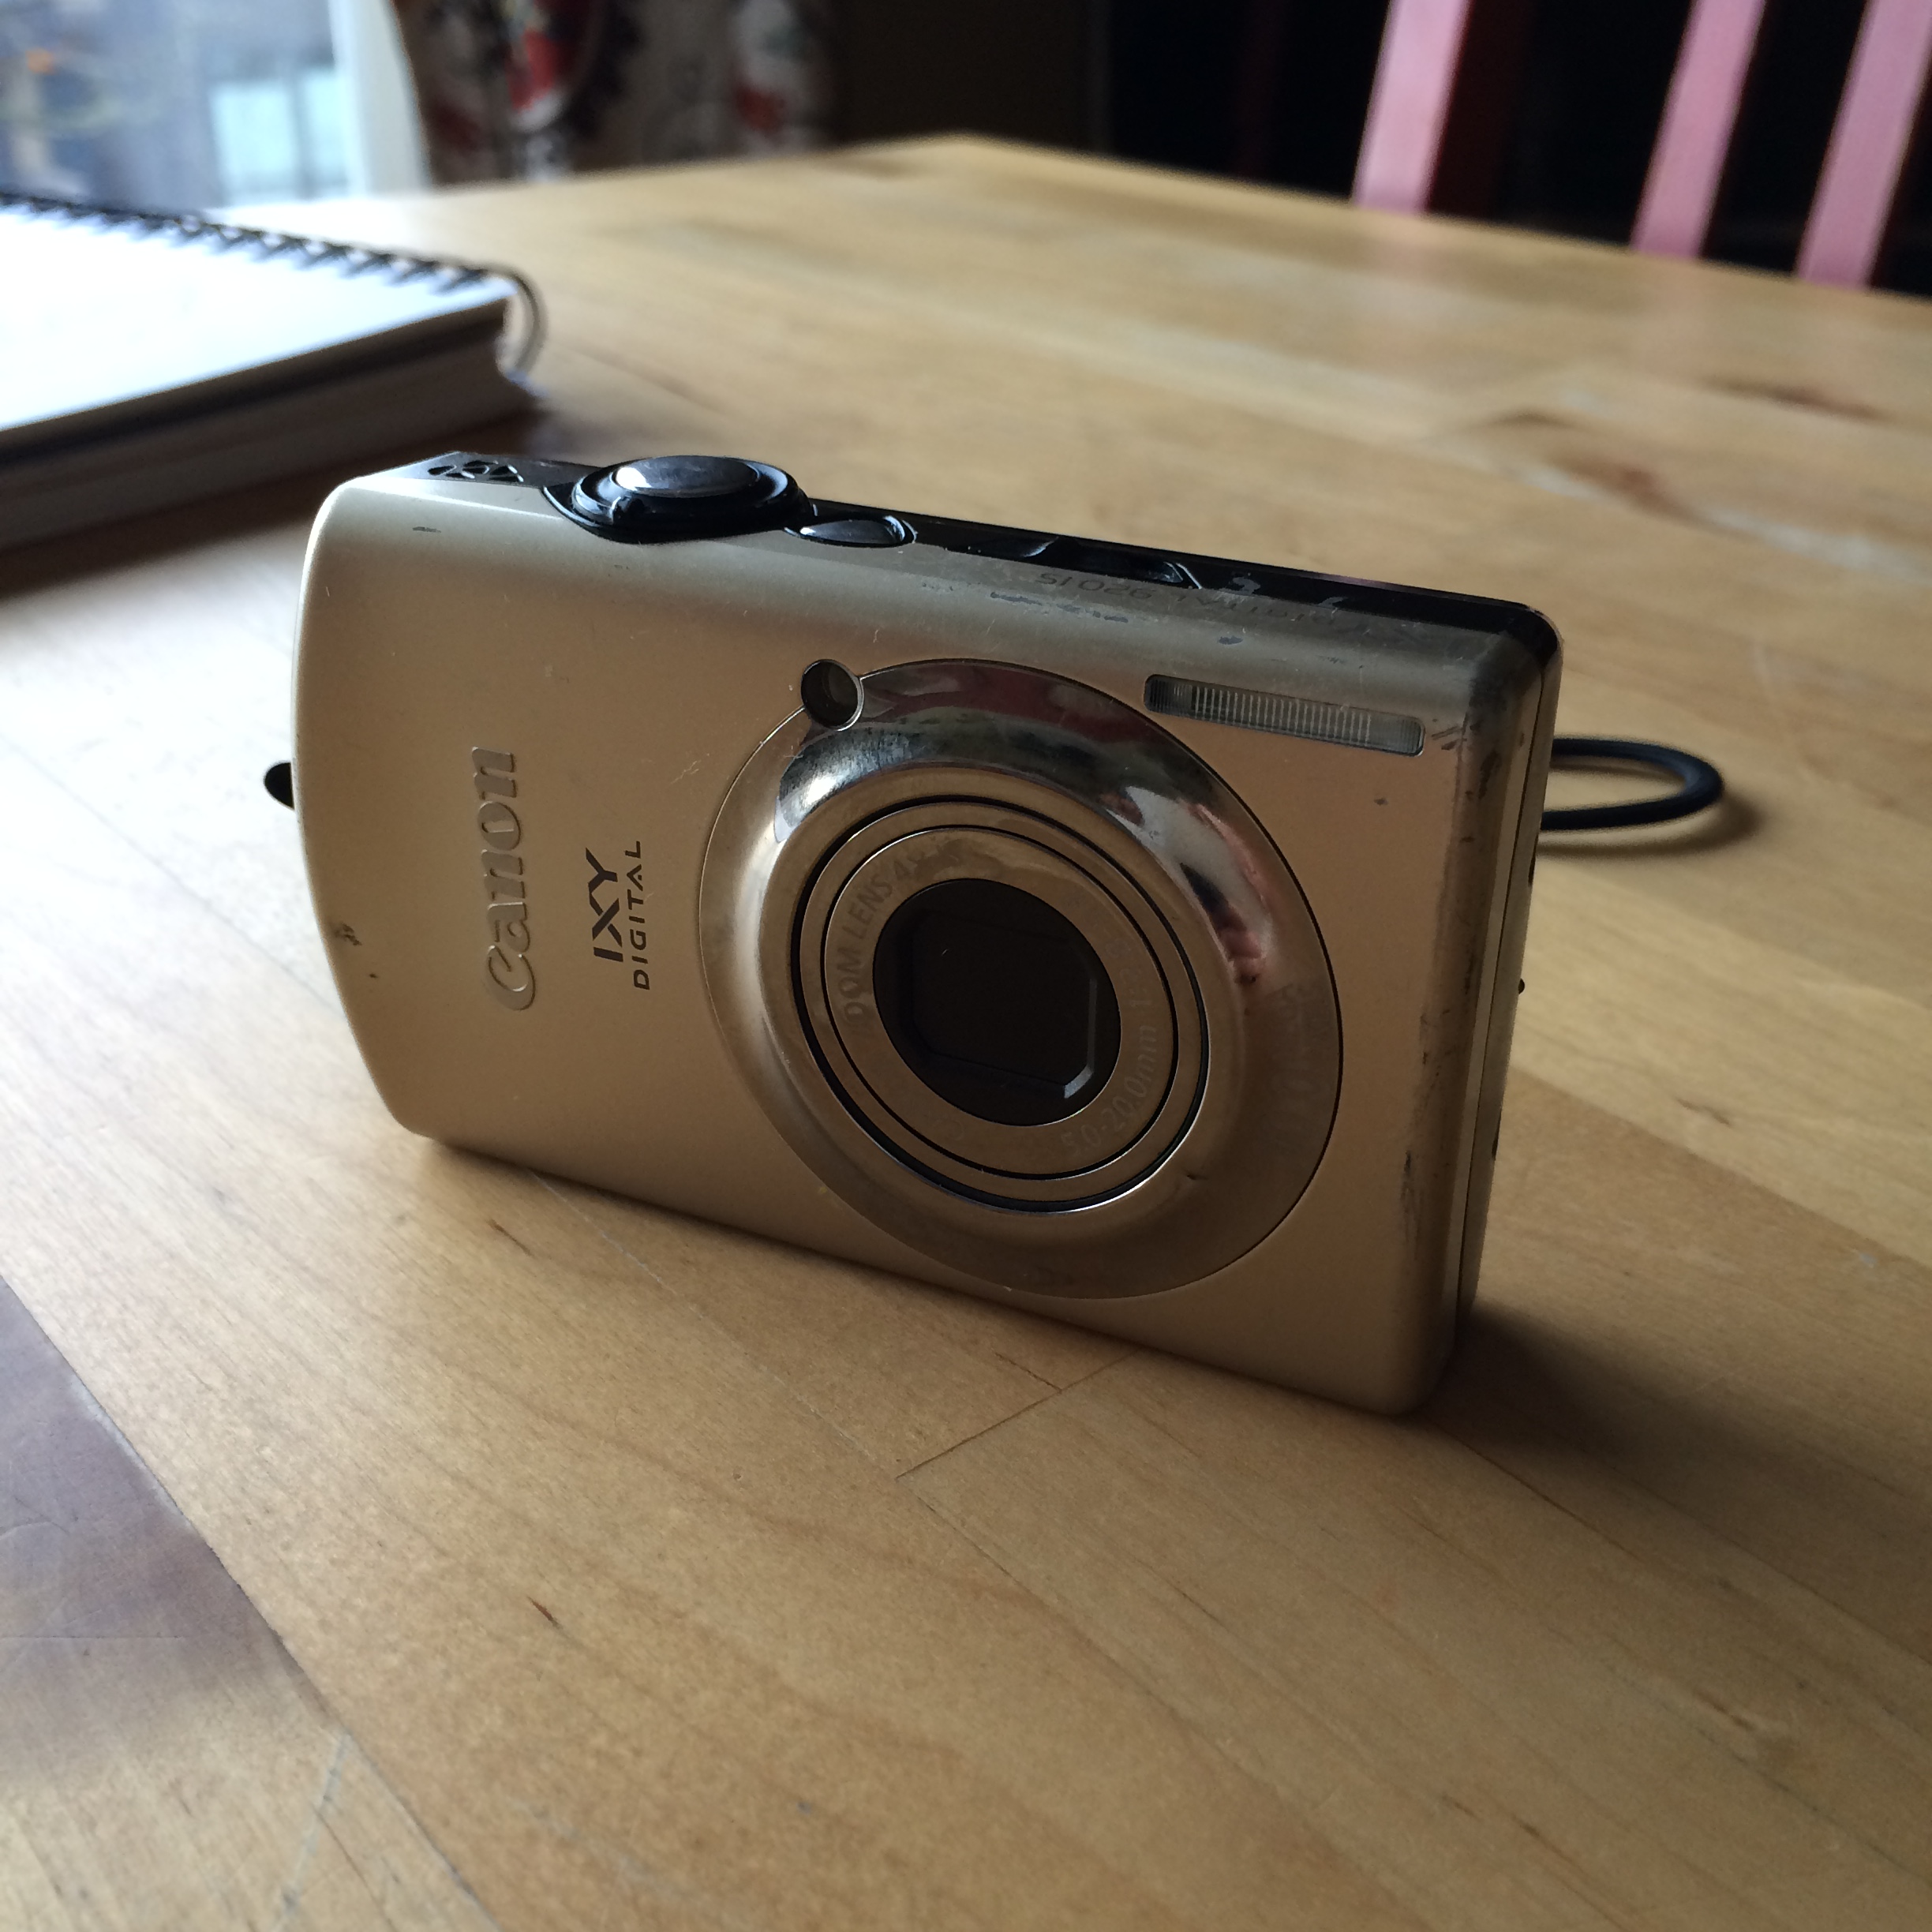
I decided to film with my old-school point and shoot camera. It’s Canon IXY Digital 920 IS, and I got it in 2008-ish? I enjoy photography and would love to upgrade to a DSLR camera some day, but this little camera has served me very well all these years and works just fine for now.
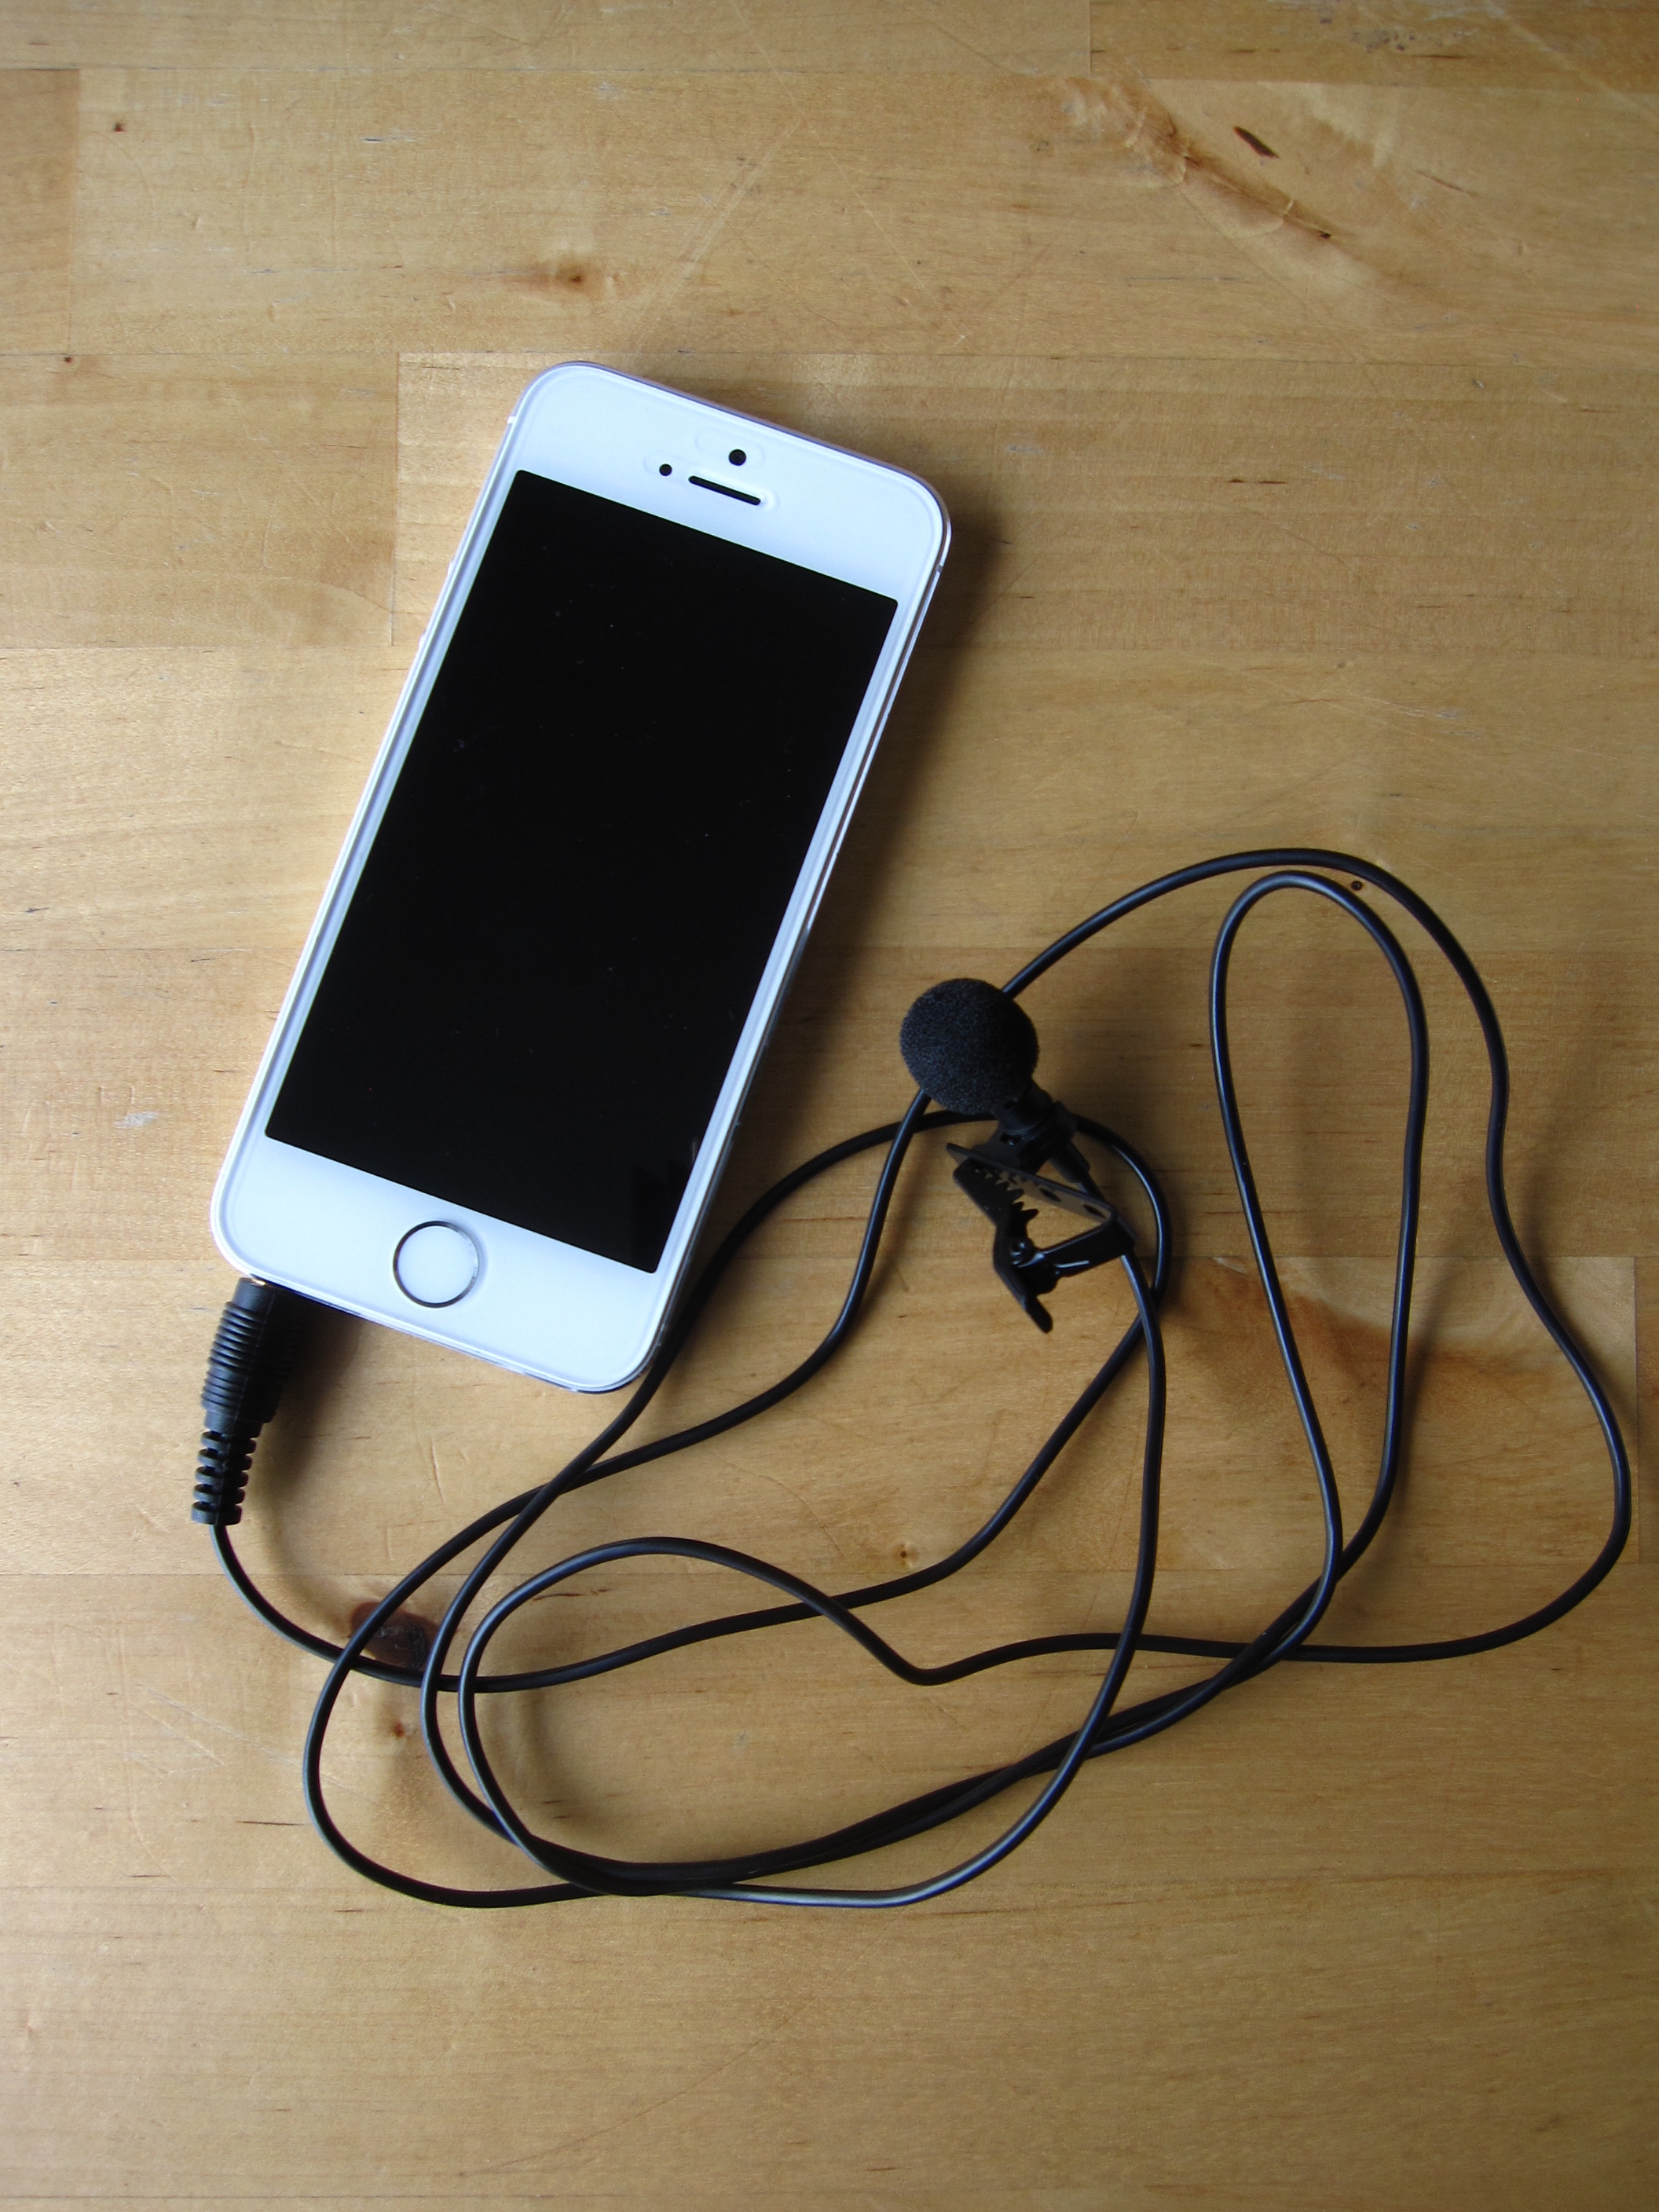
I recorded the audio on my iPhone 5 using the Voice Memos app (comes with your phone for free). I know the camera has a built-in microphone as well, but the quality is not very good. I’ve read that audio quality is more important to the audience than the video quality if you had to choose (here is a quick video to demonstrate the point), so I decided to record the audio separately using my phone.
I could’ve just put the phone in my breast pocket or something like that, but decided to get a clip-on microphone that plugs in to the phone to improve the audio quality just a tiny bit.
We have 2 parakeets in our tiny apartment, and they’re going to chirp no matter what, so I wanted to be extra diligent about getting a good enough quality of audio for this project. I got an inexpensive ($17) clip-on microphone above on Amazon, and it definitely made a difference on the audio quality! Well worth the investment.
Because I was filming this video by myself, I decided to get a tripod. Got this basic tripod on Amazon for $23. It’s got good reviews and seemed fine as a starter tripod.
But when I was doing a trial set-up, I quickly realized my tripod was not quite adequate. It was fine for shooting uplight or angled, but I realized I needed to be able to also get some overhead shots for to show my drawing process more closely.
Dave and I did some creative problem-solving, and came up with this totally DYI set-up to achieve my creative vision 😀
Ta da! OK, I’m a little embarrassed to show you this super DYI set-up, but it totally works! And I didn’t have to spend any more $…which is always a plus 🙂
Basically, the tripod is laying horizontally on a box and a few books I piled at the right hight, with the camera facing down, and I placed a couple of chairs back to back and put a pillow on top for the tripod legs to rest on. You just need to look in the view finder to adjust it to the right hight/angle etc. before shooting.
3. FILMING PROCESS
I set up by the big window in our living room area during the shoot. Since it’s winter in the Pacific Northwest, I got a pretty good overcast indirect sunlight during the day time, which was perfect for the shoot.
While filming different segments, I made sure it was recorded after each take. Sometimes I thought I hit the record button but it wasn’t on, or my video was recording but I forgot to turn on the microphone etc. My camera would also think the memory card was full when it was not (maybe the old age?) and suddenly stopped recording in the middle of the take a few times.
So I’d shoot a segment, stop, check to make sure it’s recorded, upload the good recordings onto my Dropbox, delete the footage from the memory card and reformat the memory card (for some reason, my camera thinks it’s still there even after deleting the footage if you don’t reformat…) and continue shooting again. I did the same thing for my audio. Great thing about recording it on my iPhone app is I can then upload the recordings straight from the phone to Dropbox.
I’ve learned the hard way to label the video and audio files correctly so it’s easier to match them up later when you sync them. For example, I’d shot multiple takes of my introduction and labeled them Yuko’s Intro Take 2, 3, 4, 5 etc. to choose the best one later. But I only uploaded the voice recording that I liked the best and labeled it “Yuko’s Intro” without the corresponding number to match the video, so later when I was editing I had to spend extra time to figure out which footage the voice recording went with.
These are somewhat tedious steps but helped me save a ton of time and frustration when editing the project!
4. MUSIC
How can you tell a good story without music, right? Since I’m not a musician, I looked for some free/royalty-free background music resources online and found these sites helpful!
Incompetech – I found it helpful to start out with their collections rather than searching from a huge database. Their collections are grouped by the genres and feelings you’re looking for.
5. EDIT
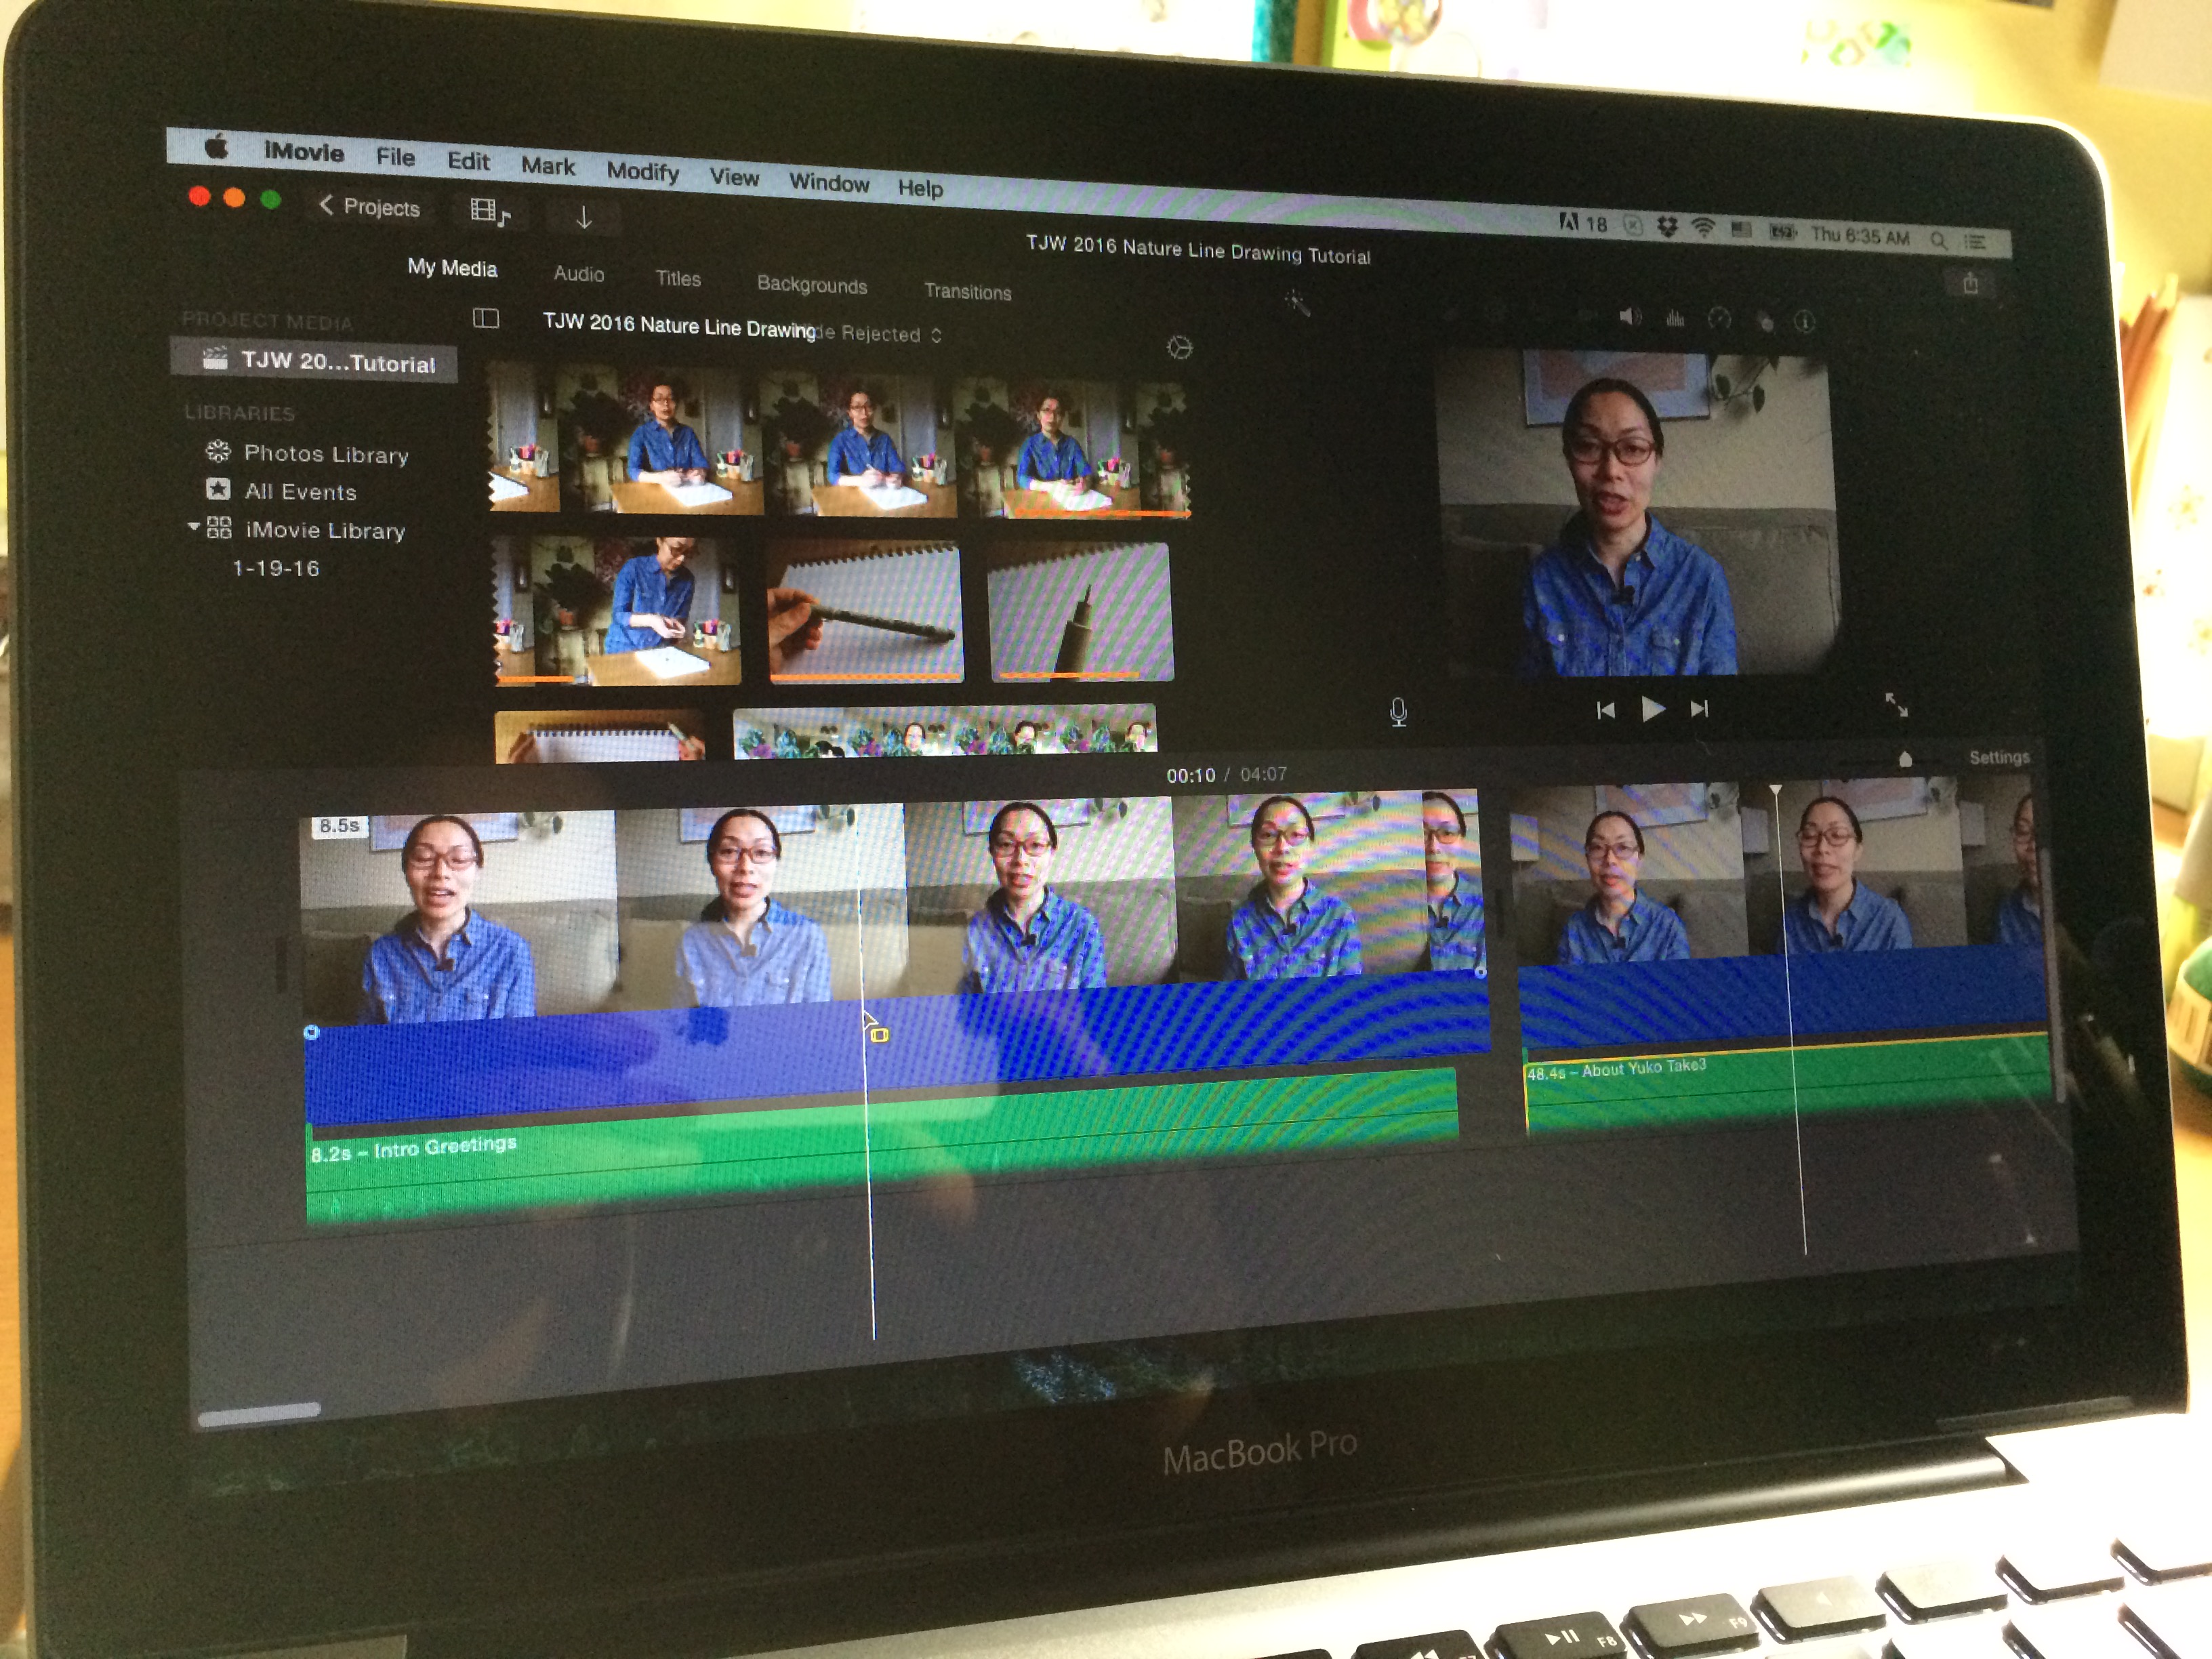
After I got the footage and audio uploaded in my Dropbox folder, I put together the video in iMovie app. It’s a free app that comes with your Apple computer and lets you produce a basic video pretty easily.
Don’t worry the awkwardness of watching/hearing yourself wears off after a while… 😀
Again, I looked for some tutorials on how to edit your video in iMovie and found these pretty helpful!
1. Syncing Sound in iMovie Tutorial by Matthew Pearce is a short and sweet tutorial about how to sync your audio and video in iMovie. I love his “3 claps before talking” trick! So helpful.
2. iMovie 101 by Simply Mac is a quick introduction to the basic functions of iMovie. Good introduction but it’s for an old version of iMovie, so I got a little confused.
3. iMovie Tutorial for Beginners 2016 by Eric Timmer gave an overview of the basic video editing functions for newer iMovie app. It was a little long form (43 minutes) but gave me pretty much everything I needed to know to put my video together in the newer version of iMovie.
OK, that’s it! I had a lot of fun making this video and hope it was helpful for you!
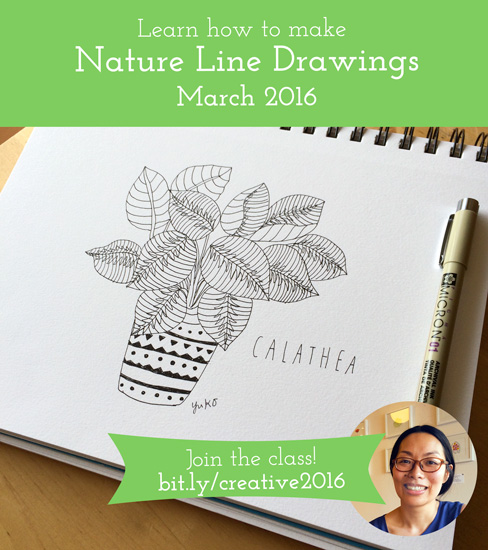
My Nature Line Drawing tutorial will be available for students in the e-course next month. It’s not too late to join the class for this quarter only or for the whole year (definitely more value for the investment!) to get access to my tutorial and tutorials from 18 other teaching artists.
And here is a mini clip of me flipping through my sketchbook 🙂
Learn how to make nature line drawings with me this spring! In case you missed the link, you can learn more and join the class here.