Hey guys!
In my effort to offer even more creative inspirations for your life (read more about that in my blog here), I’m starting to share more of my art products and creative processes on my blog now! My goal is to publish at least 3 posts per week as compared to one weekly post previously, and I hope you’re enjoying it so far 🙂
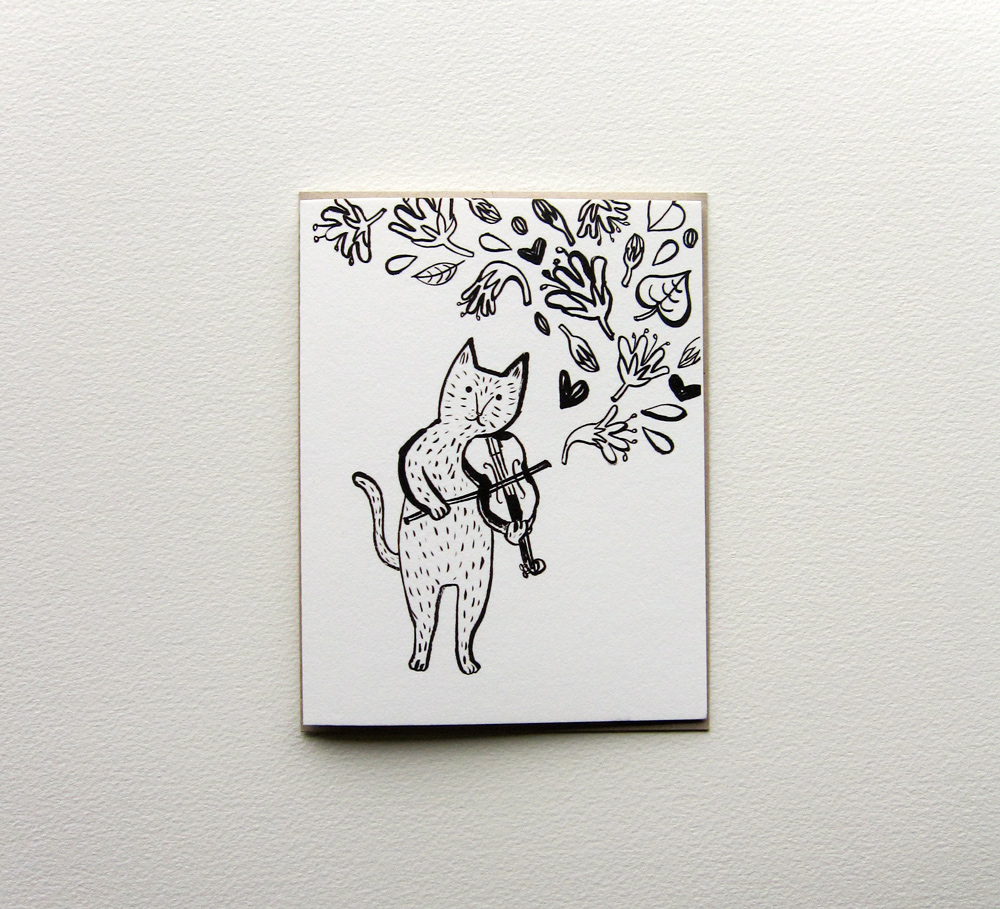
Yesterday, I shared a story behind my new untraditional Valentine’s paper products. (If you missed it, you can scroll down to yesterday’s post or check them out here. They’re adorable!)
Today, I wanted to share behind the scenes of my new block printed XOXO Tea Towels and Project Bags!
Some of you know I’ve been block printing on fabric since winter of 2015. I took Jen Hewett’s Design, Carve, Print e-course and immediately fell in love/got addicted with the block printing!
Here are some of my block printing works from last year:

Colorful tea towels from fall/winter 2015
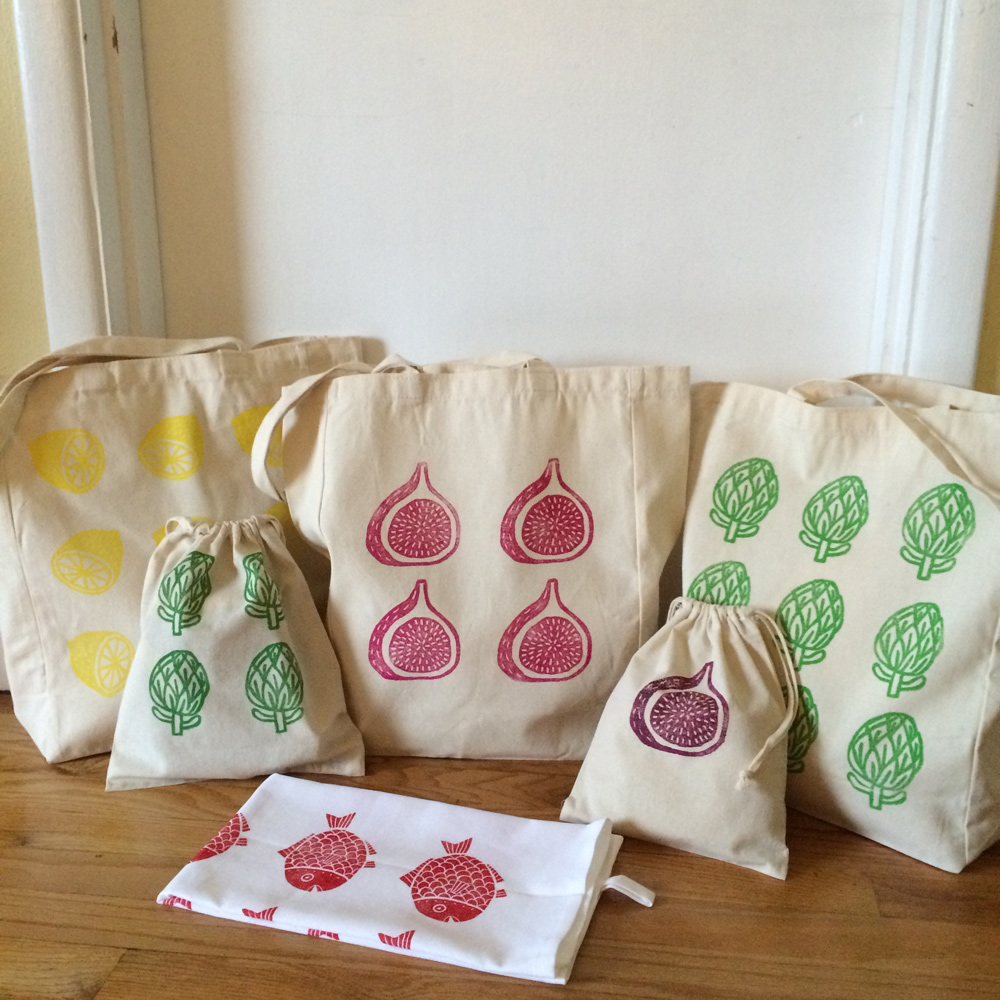
Totes and drawstring bags from summer 2015

A typical block printing set-up. This artichoke printed market tote is one of the most popular items on my shop so far.
When I create new designs for my block printing project, I keep in mind the following:
- My block printing design needs to have a cohesive look and feel as my other illustration work on paper.
- It needs to have clean line work and a little bit of details/texture to make it very simple but interesting.
- It typically needs a good balance of positive/negative space.
- A motif around 4.5″ x 4.5″ usually works well with what I do.
For my new Valentine’s XOXO collection, I had an idea of designing a simple lettering of XOXO. I initially thought of just creating a simple “XOXO” shapes, but it looked a little boring/not in line with other products I had created.
As I was making a bunch of sketches to add decorations to my letters, I remembered this sketch I made several weeks ago.

I like to crochet and was doodling some tools as I watched some Netflix shows with Dave one evening. I was vaguely thinking it would be cute to create a project based on these but didn’t have a real idea yet.
And then I realized the letter X could be two knitting needles crossed together (2 crochet needles would’ve been a little funny because we only use one needle usually!) and the letter O could be a yarn ball!
I know knitters/crocheters like having project bags for the things they’re working on, and I can dedicate my block printing Valentine’s gift products to them ❤

So I sketched some more ideas using knitting needles and a yarn ball on paper. I like to draw with bold felt-tipped or brush pen to get a better idea of the final image. I don’t like having a really thin line as a positive space in my block printing project because I use a softer carving block and thin details are easier to break or get accidentally cut away in the process.
Once I’m happy with a design, I trace it with a tracing paper and a pencil.
Then I flip the tracing paper over and rub the pencil drawing on to the carving block with a spoon (or a bone folder if you got one.) I use MOO Carve carving blocks because they’re softer and easier on my hand when carving.

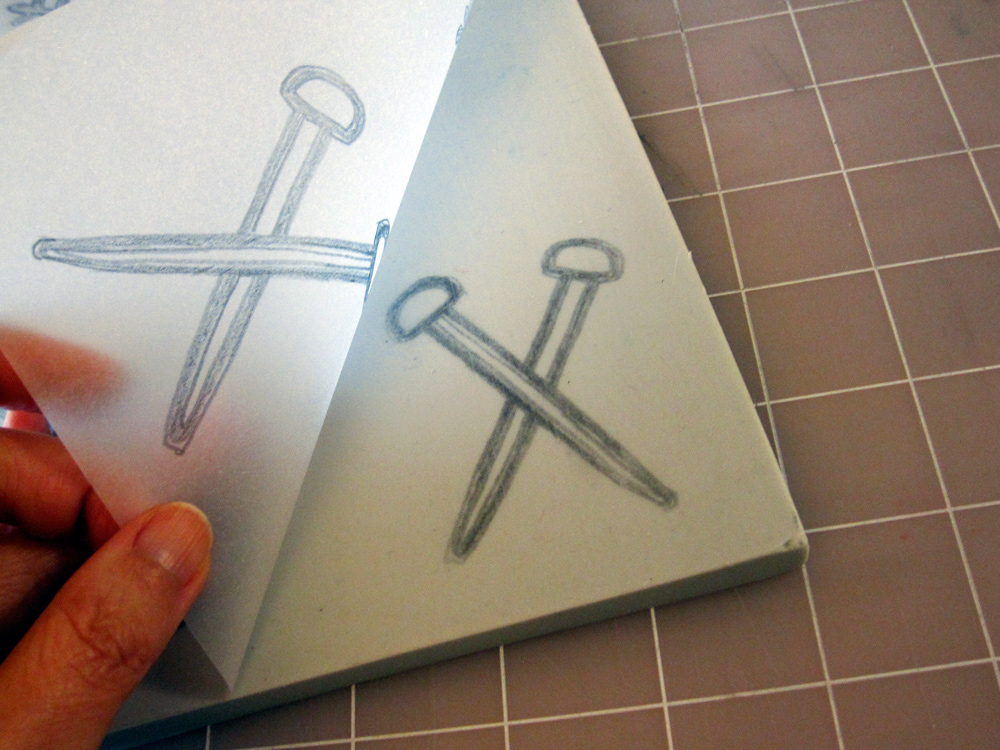
It’s going to look like this after you rub your drawing on to the block. The black lines indicate the part I leave out, and the white part gets carved out.

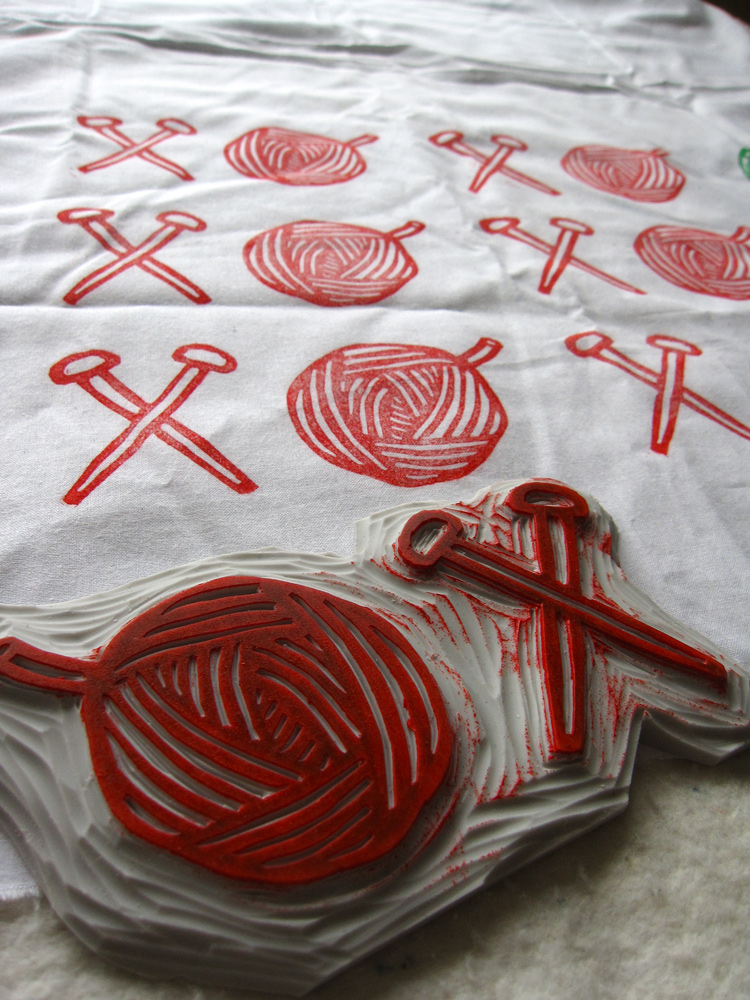
Then I carve away the white part! I use a linocut carving tool from Speedball.

Once the block is carved, I start test printing on my test fabric. For this design, I kept the two motifs together on one block since they’ll always be used side by side, and it’ll save me some time when printing!!
Seeing the image come alive for the first time on fabric is absolutely my favorite moment!
I use the water-based fabric screen printing ink to block print on fabric. For this, I used Speedball fabric screen printing ink in red.

When test printing, I look for parts that need to be cleaned up/tweaked. And then I print and clean several times until I’m happy with it.
Once I’m happy with the blocks I carved, I print them on my products. Since I don’t sew, I usually get my blank tea towels and bags from these companies:
I design the layout that works well with each product and get to printing!! I let them dry overnight and heat set the ink using my iron after they dry completely.
And voila! These Valentine’s XOXO Tea Towels & Project Bags are ready to delight a special knitter/crocheter in your life ❤

Pink and Red 100% Cotton Tea Towel. It is color fast and will not wash out. I use them at home and they’re very durable!

Red and White 100% Cotton Tea Towel is also available on my shop! It’s going to be a lot of fun to make some Valentine’s Day treats in the kitchen with these bright and joyful tea towels 🙂
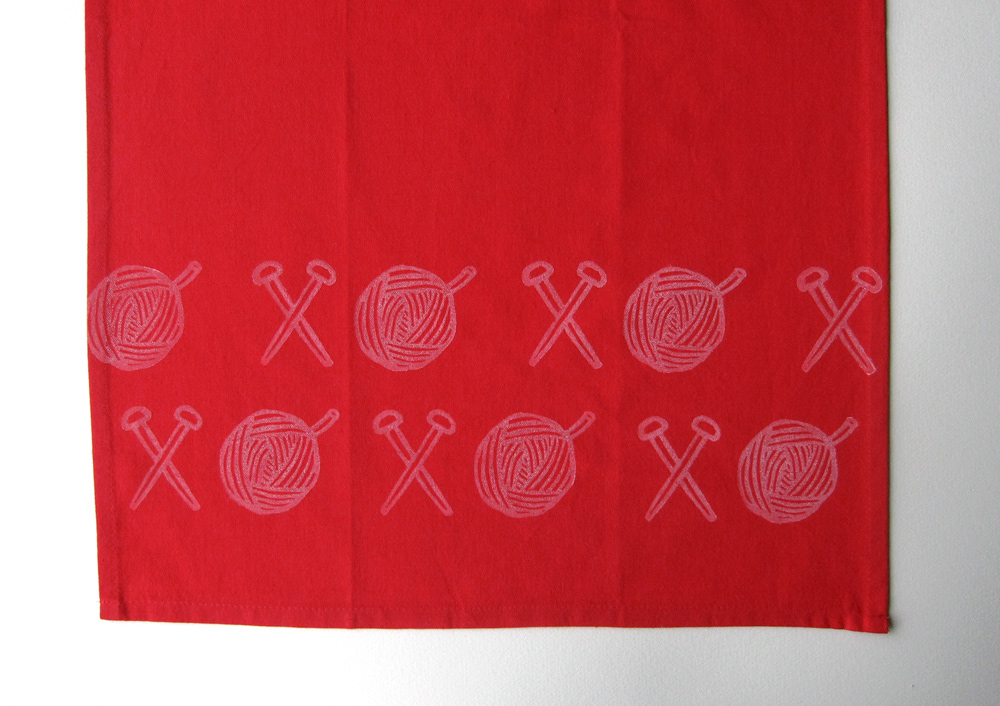
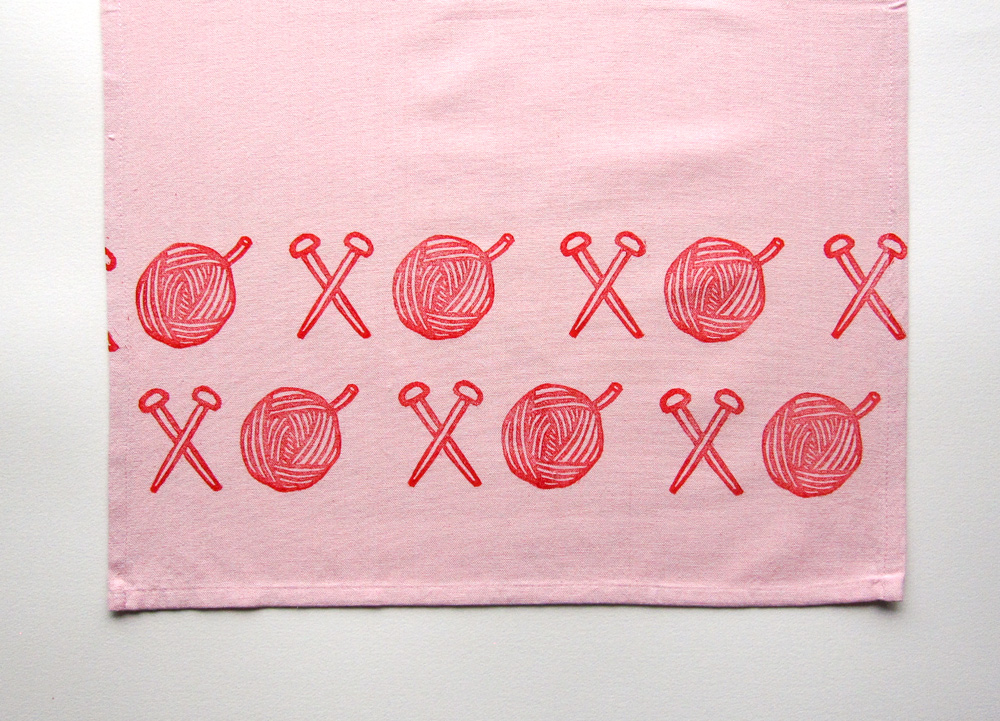
You can’t go wrong with the simple repeat pattern.

They’re even cuter together as a set 🙂 Swoon ❤
And the new design comes on 100% Cotton Drawstring bags as well! They are another great gift idea for the creatives in your life. Use them as a project bag or to organize things (especially for your little ones) to carry around in your big bag!
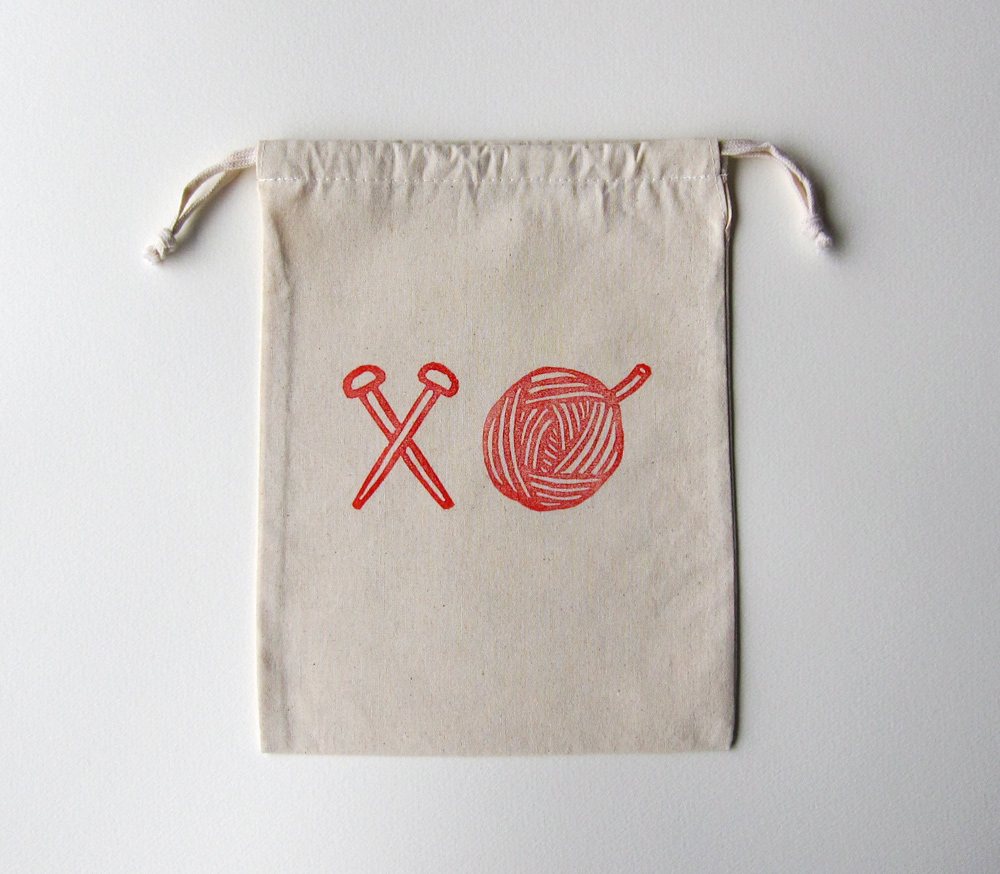
8×10 100% Cotton XO Drawstring Project Bag
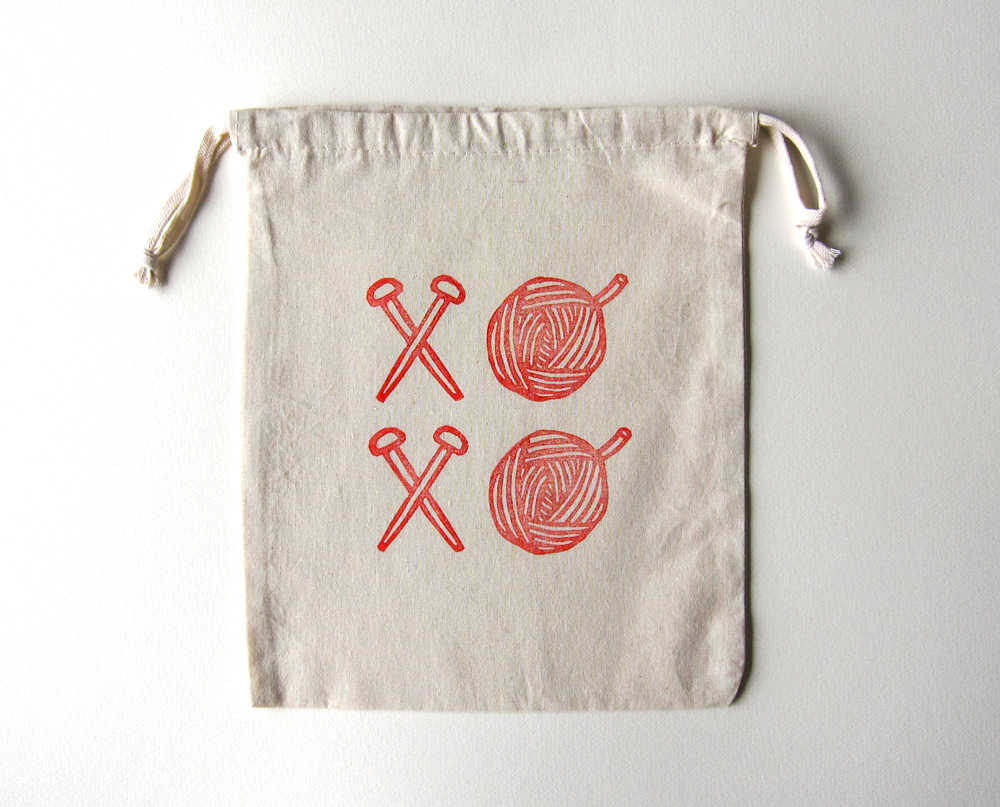
And its big sister 10×12 100% Cotton XOXO Drawstring Project Bag
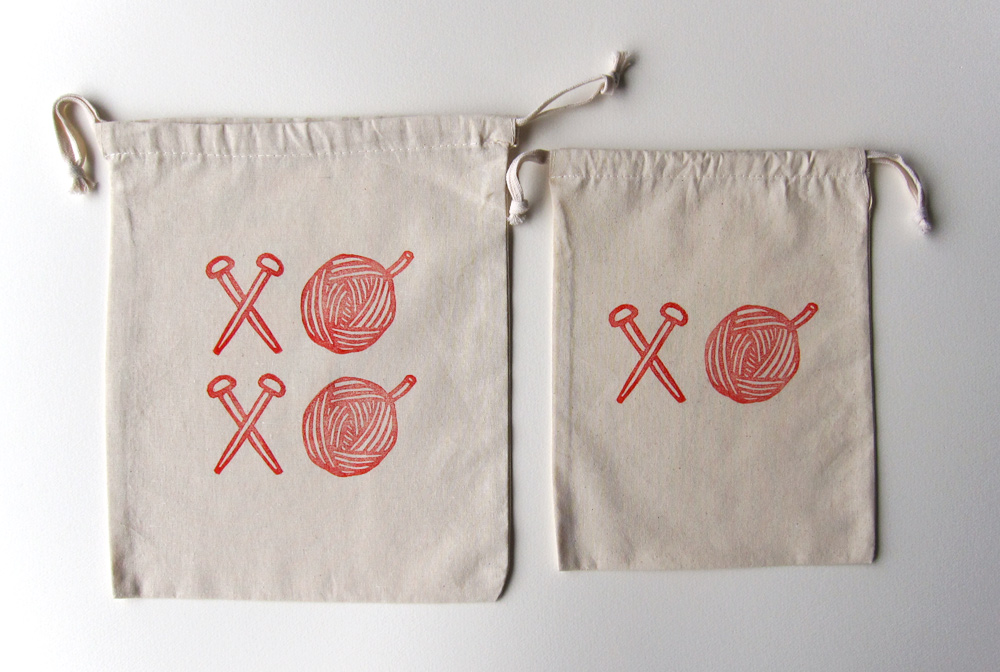

They’re heat set, so the ink is printed on the bag permanently. You can machine wash cold. Easy-peasy!
I hope you enjoyed learning how my block printing products are created. I love how each product is slightly different and is a unique work of art you can use every day 🙂
If you’re interested in learning how to block print on fabric, check out the workshop I’m teaching in Seattle in April and May! If you’re not in Seattle area, Jen’s e-course I mentioned above is a great place to learn, too.
OK, I hope you’ll have an inspiring day, my friend!
xoxo Yuko