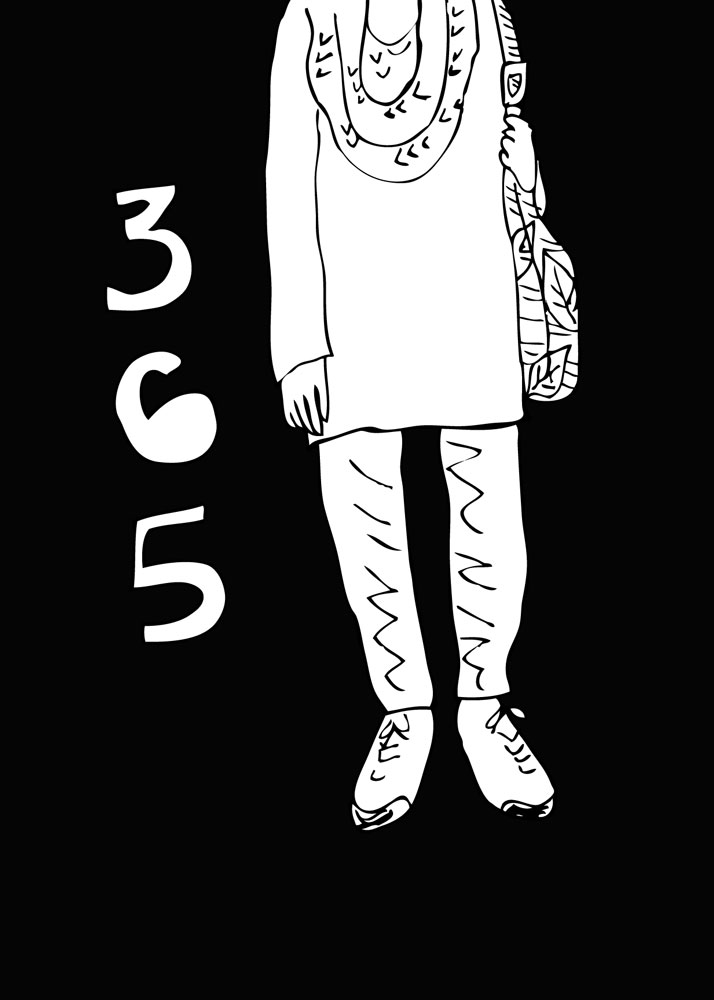
I just watched a video of one of my favorite artists/illustrators, Lisa Congdon‘s talk “Embrace the Abyss” where she talks about vulnerabilities of creativity. One of the things she talked about was challenging herself to go outside of her comfort zone every day and pushing herself to be better at her crafts. One example of that is her 365 days of hand lettering. Amazing!
私が大好きなアーティスト、リサ・コングドンさんのビデオ、「Embrace the Abyss」をさっき見ました。彼女は自分のアーティストとしての不安や弱気に感じることなどを語り、その不安を乗り越えるためには日々、自分自身に課題を与えてチャレンジし続けている、と言っていました。
WOW, I’m so inspired! I’ve decided that I’m going to also embrace my creative vulnerabilities and share a drawing journal about happiness every day for the next 365 days!
I’m naturally a curious person, and last year, I somehow felt I was ready. What is the worst that could happen? Even if it sucked, it would be over in 10 days. So there I was without any big expectations, my clothes and sleeping gear in a little suitcase, I rolled up in my 2000 Honda Civic at the meditation center in the rural Washington.
I had done some meditation practice in the past but never seriously in any way. We checked in, moved in to the dorm room, met my room mate, and had a delicious dinner with the fellow students on the first night (and we could still talk & socialize at this time).
Our practice began on the first night. We were assigned our sitting spot in a big hall. The meditation practice was lead by the video and audio recordings of Mr. Goenka, and teachers were also available for questions. From this point on, you’re to focus on your practice and have no interaction with your fellow students. No talking, miming, writing, eye-contact or body language. You’re only allowed to speak to the manager and the teacher if you need assistance with your accommodation or the practice.
I know this is kind of overwhelming, but as an introvert, I was also looking forward to not talking to anyone for 10 days. No need to strike up a conversation with strangers and make small talks. How relaxing!
During the 10-day retreat, your daily routine is pretty structured. Your day starts at 4am, and meditate for a couple of hours. Breakfast is served at 6:30am. Then you meditate for a few more hours. Lunch at 11am, and you will have a little break to rest and/or walk along the path in the property. You meditate again for the afternoon, and instead of dinner, we have tea with honey and milk and some fruits at 5pm. After dinner, we have more meditation and discourse/lecture until 9pm. Then lights out at 10pm.
I was a little worried about the “no dinner” situation as I LOVE to eat. Though it was hard in the beginning, I got used to it eventually. Because we just sit for the most part of the day, I didn’t get super hungry anyway. And their food was really great too. Healthy, wholesome vegetarian meals were prepared by awesome volunteers every day. This is what a typical day’s meals look like.
So, during the retreat you would sit and meditate for about 10 hours per day either as a group or individually in your room. Each day, we’re given instructions and guidance to further our practice. In the evening, we’ll watch the video-recording of Mr. Goenka’s lecture, and I looked forward to that every day. He is quite a character, and I felt like he knew what I was thinking a lot of the time. Questions like, “Why am I here?” “Why are we doing this silly nose breathing thing day in and day out??” were answered during the video lecture. The program was well structured so you are able to build on a skill and really learn to sharpen your senses.
Sitting for a long time was definitely not easy, but by far the hardest part for me was shutting off my mind. As Mr. Goenka puts it, your mind is like a wild monkey going from a branch to branch grabbing bananas and leaves. It’s also like browsing on the internet – you click on a link and then next, and next, and next…. it’s a never ending rabbit hole, I tell ya! Your meditation practice would help tame your wild monkey mind, he said. REALLY? Because it was really, really hard to shut off my mind for even a second.
Many thoughts came up while sitting. A lot of them were really intense thoughts of anger and fear. And I felt worried about having those thoughts (i.e.”Wow, am I ok?”) and continued to let go of those thoughts. Because I was feeling such intense feelings during the meditation, I had nightmares almost every night and woke up scared in the middle of the night. I understand why students are asked to stay for the entire 10 days. I would’ve been kind of a mess if I left without having some kind of a closure for those intense feelings I felt.
There is so much to say about the practice, and I think you need to go through it to really experience the impact of it yourself (or you may find it doesn’t have a lot of impact for you). What the practice taught me is to realize nothing is permanent, pain or pleasure, and holding on to them only creates suffering for you. It was really powerful for me to realize that only I can make my problems go away. It is such a simple message, and it was so empowering and deeply healing for me.
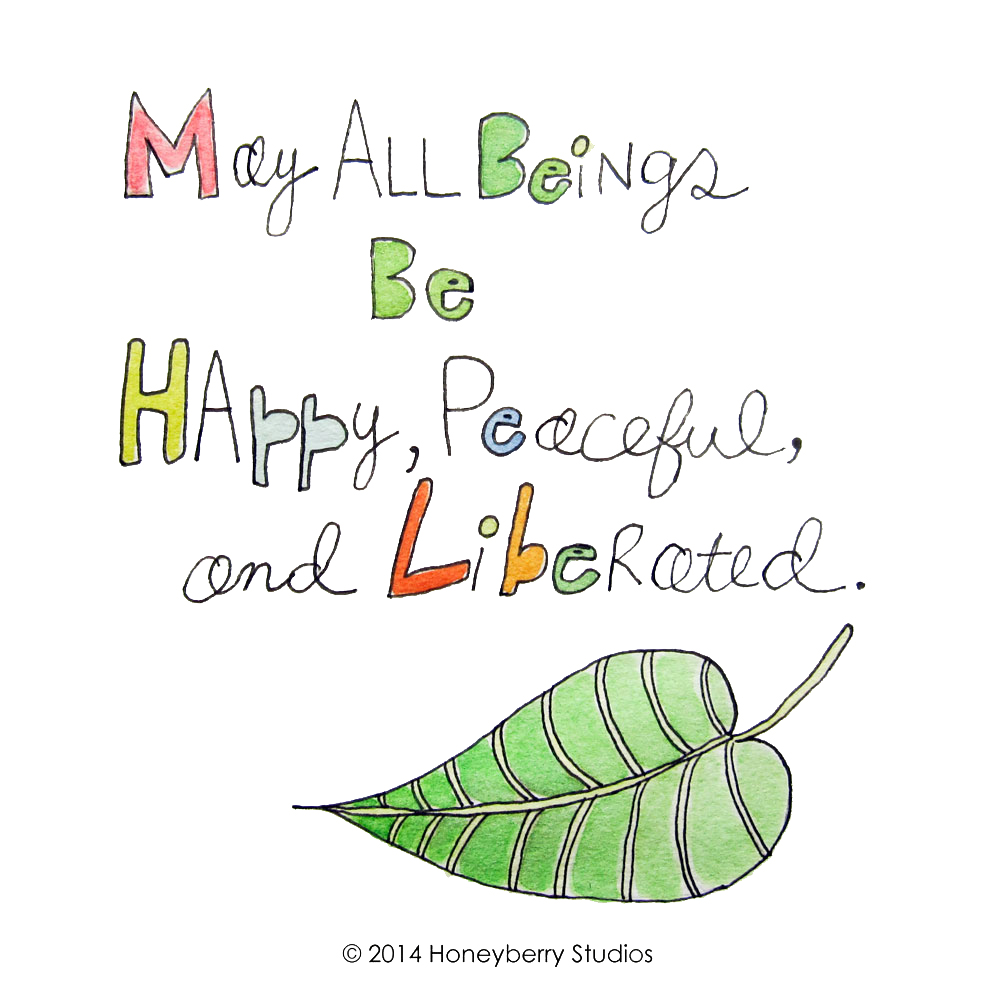
At the end, we learned the Metta Meditation, a.k.a. “Loving Kindness Meditation,” which may be my favorite part. In this meditation, you will learn to send all kinds of positive, loving, warm thoughts to yourself, your loved ones, your enemies, and all beings in the universe. What could be better??
After returning from the retreat, I was following their recommended daily practice of 1 hour meditation in the morning and 1 hour in the evening. It was a really hard commitment to keep, and eventually I stopped when my life got kind of crazy last summer. Despite that, I’m still able to go to that quiet place in my mind when things are stressful or hard even for a short time. It was truly a life-changing experience for me, and I would recommend to anyone who is interested! You can find more information about the Vipassana retreat here.
Our last assignment for the Illustration Communication class was to design logos for ourselves!
イラストコミュニケーションのクラスでの最後の課題は、自分のロゴのデザインです。
Since I already have my logo, I decided to design a logo for my husband Dave, a.k.a. the Daver.
自分のロゴはもうあるので、夫のデーブのロゴをデザインすることにしました!
He is a Permaculture designer/educator/author and currently runs a company called Terra Phoenix Design. I choose to do a branding and logo design for him as an individual because…why not?
Because this is for him as an individual rather than his company, I designed a logo that reflected his friendliness and approachability.
これは会社ではなく、個人のロゴなので、彼のフレンドリーな性格が伝わるようなデザインにしました!
Here are my three concepts! こちらが3つのデザインです!
The Portrait!The Name!The Acorn!
My favorite is definitely the portrait. He has such a cute smile 🙂 I modified the portrait and made his facebook profile picture! It is a lot warmer and shows his personality well, I think.
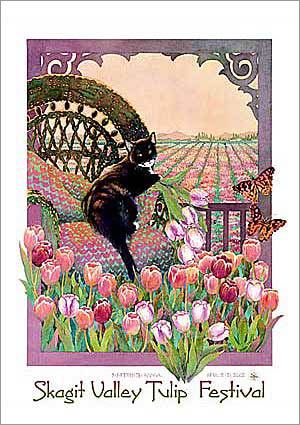
My assignment for the Illustration Communication class this week was to create an illustration for Bumbershoot event T-shirt! Bumbershoot is a festival of music and art that happens over the labor day weekend in Seattle. Their event posters are amazing, by the way.
My favorite is this one with a kitty (of course) by Jerry Freiberg created in 2002.
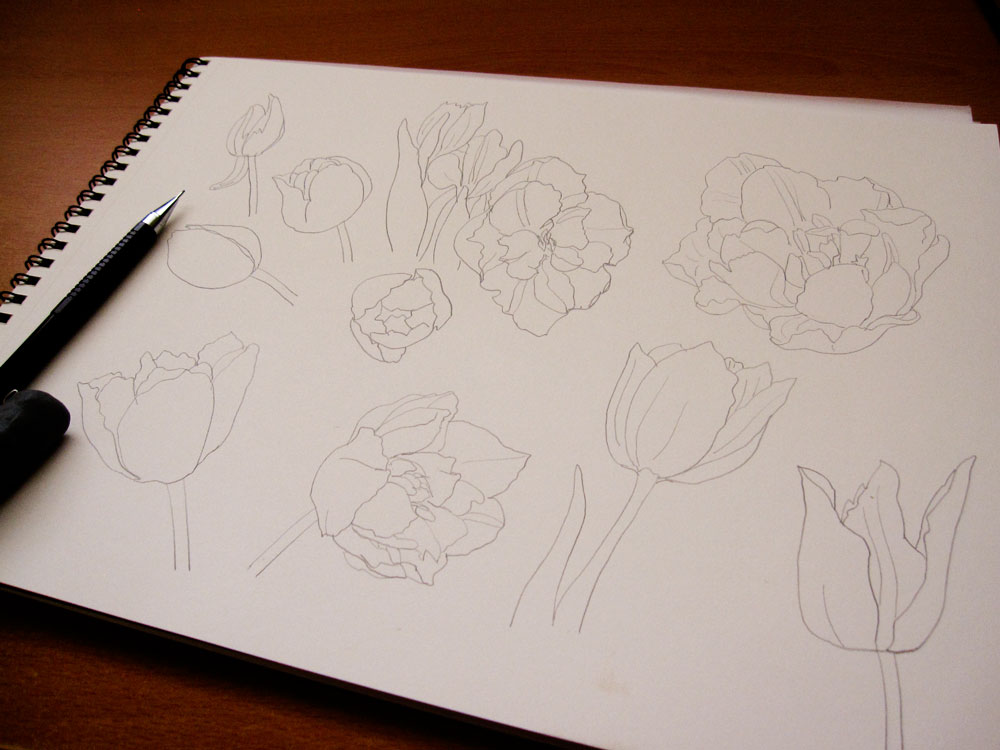
For this assignment, I wanted the focus to be on the beauty of individual flowers, rather than the landscape. Not only do I LOVE flowers, I felt it would better showcase my line art style.
I had some ideas for composition for the poster, so I did a rough comp on Photoshop just to see…
まずはポスターの構図を見るために、フォトショップで大体の構成をチェック。
I actually liked the simple line drawings and one spot color for background, but for this assignment it made sense for the flowers to have more colors. When there is a bunch of black & white line drawings, it is hard to tell what’s going on especially if you’re not looking at it closely.
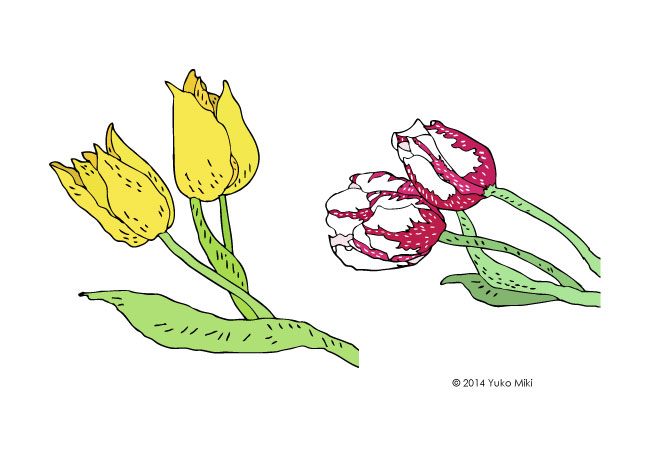
At first, I made tulips with green stems like real flowers. But then when I put a bunch of them together, it seemed too busy with the background color. And they just didn’t look very interesting to me…
Earlier in the design process even before I started drawing the tulips, I was thinking of designing a poster that looked kind of like a stained glass art. I also really enjoyed my black & white illustrations from the last assignment, so I decided to experiment…
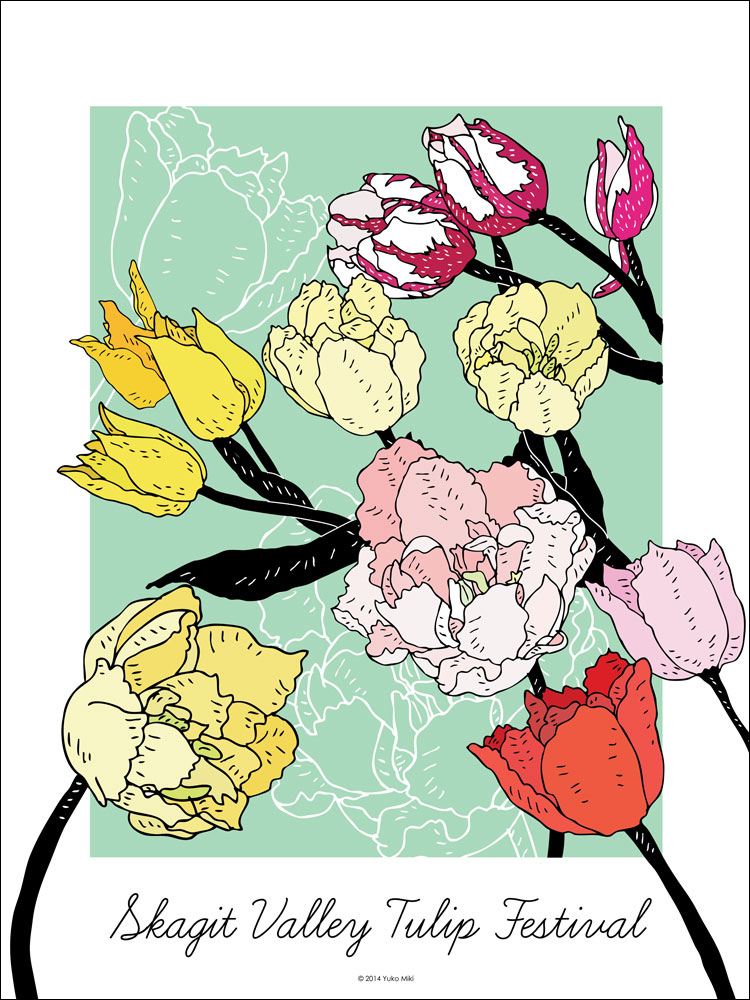
After hours of trying out different layouts and spacing, I landed on this final design.
何時間もかかってレイアウトを考えた挙句、このデザインになりました!
The poster!
Since the focus of our assignment was the illustration itself, I didn’t spend too much time with the typography. I chose “Learning Curve”, which is the typeface for my company, Honeyberry Studios’ logo 🙂 I think it fits the feminine and flowy style of this poster very well, though!
Extra credit – this is another version of the design. I decided not to go for it for the poster project, but I made a cover photo for my facebook page 🙂
I have been working for a non-profit organization that helps victims of domestic violence for the past 13+ years. I have held many different positions throughout the years, and it has been very rewarding to be helping people and making a difference in the community.
I have also been part of a volunteer group called Japanese Social Services Network (JSSN) for about 10 years. JSSN was first started as a networking platform for the Japanese professionals working in the social service field in the Seattle area. I joined the group initially to meet others and get/give support in doing the work.
Over the years, its focus has expanded to include providing information and resources to the Japanese people in the community. In addition to hosting a social get-together for service providers, we now offer workshops and seminars and have put together a website to provide community resources in Japanese.
I’ve served on their leadership committee for several years now, and one of the ways I’ve helped out is to provide illustrations and graphic design for their materials.
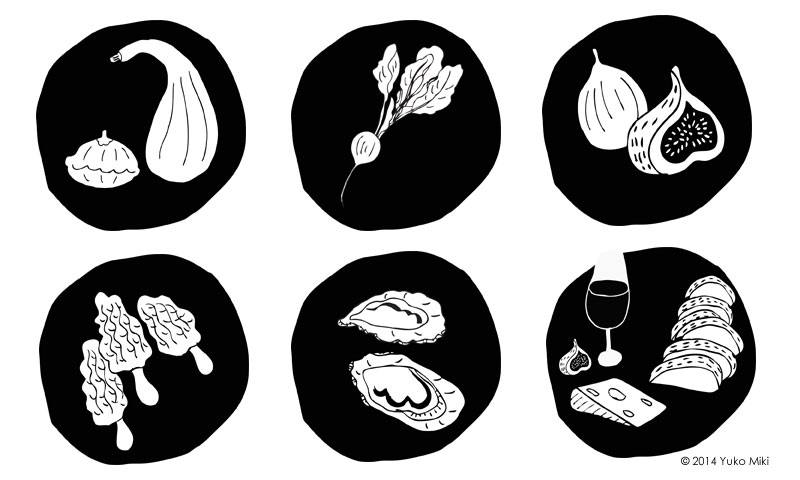
My first assignment for the Illustration Communication class was to create 12 black & white spot illustrations and one color illustration for a Northwest Food & Wine cookbook!
I chose to make 12 black & white illustrations of raw food ingredients for the spot. The assignment also required us to have images of wine bottles & glasses in some of our illustrations.
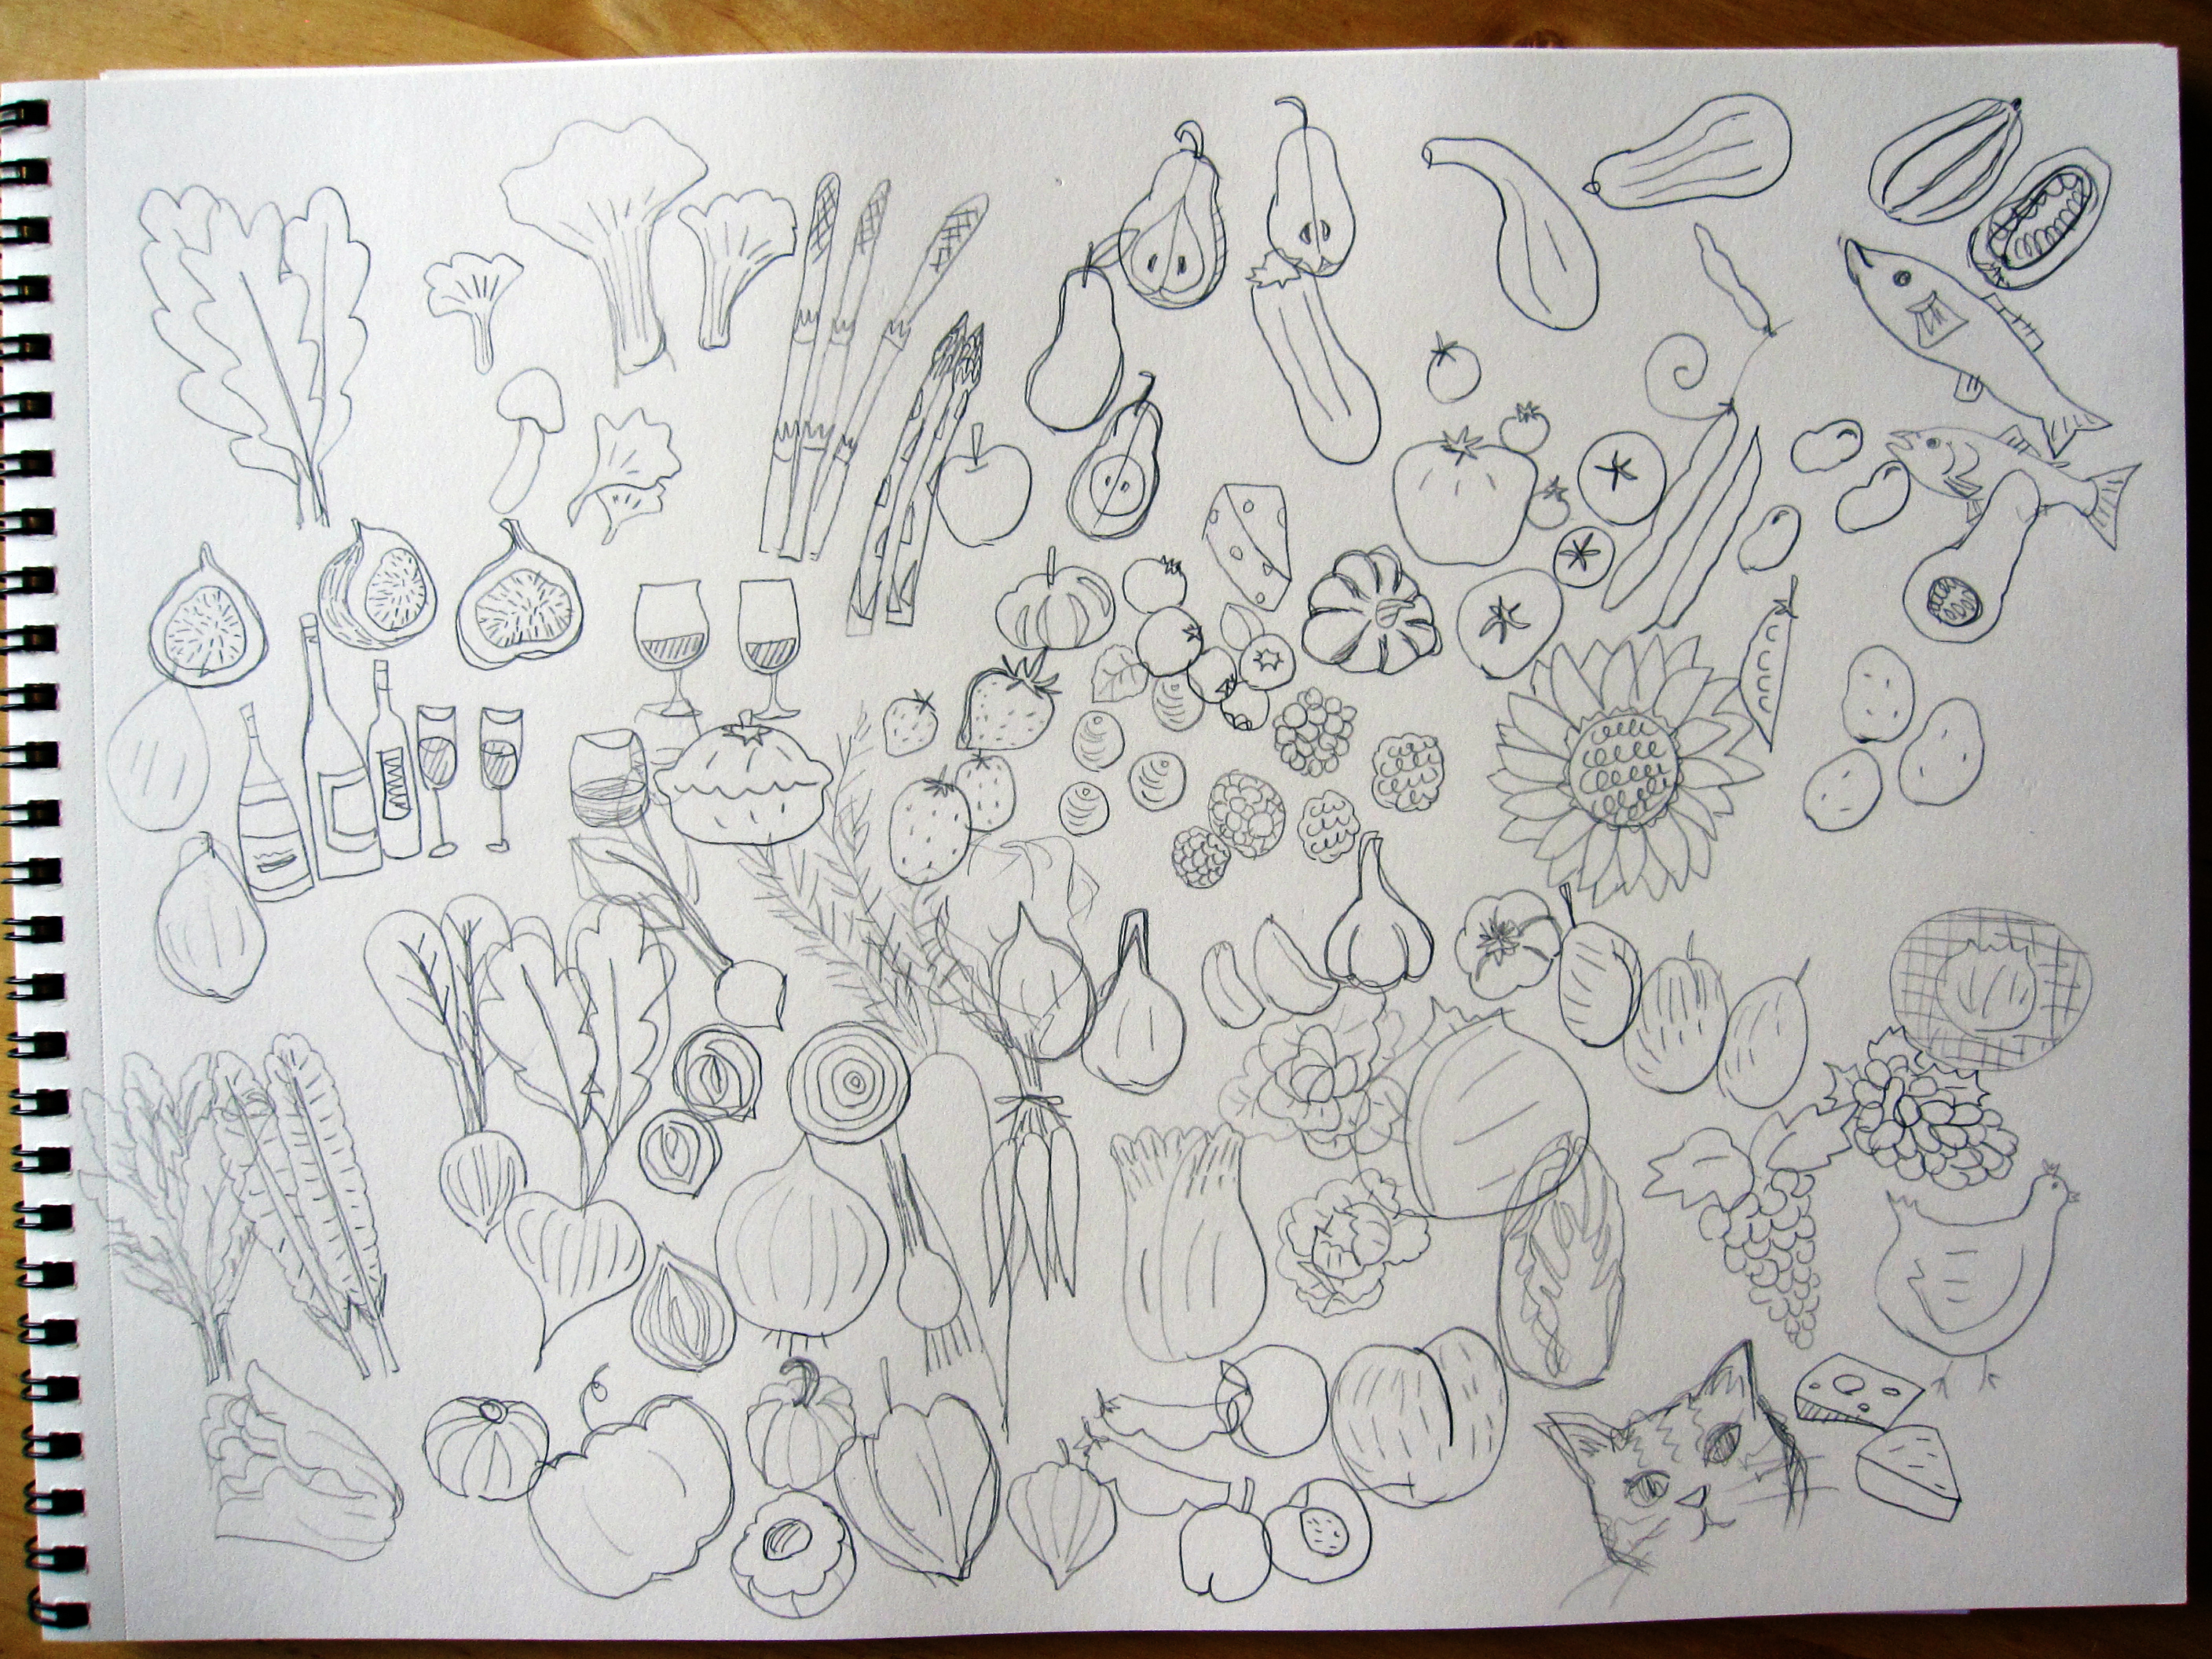
I usually start my process by making rough sketches with pencil on paper.
まずは鉛筆で色んなイメージをスケッチしていきます。
all kinds of Northwest food ingredients! (and a bonus kitty)
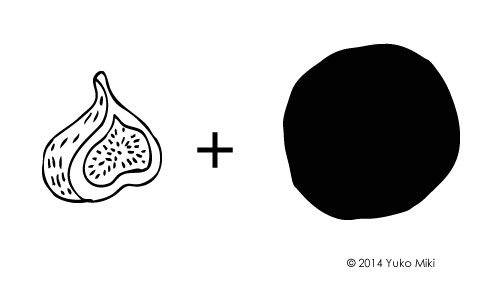
I then made pen & ink drawings to be scanned and processed in Adobe Illustrator. I decided to place each illustration in the black circle to frame item. It gives them consistent look and helps to make the line art stand out.
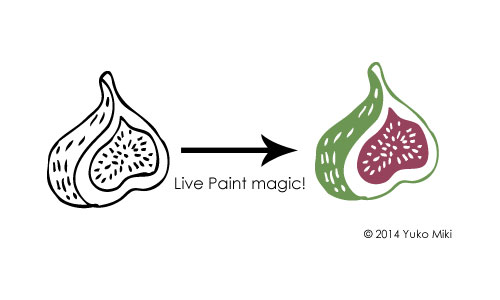
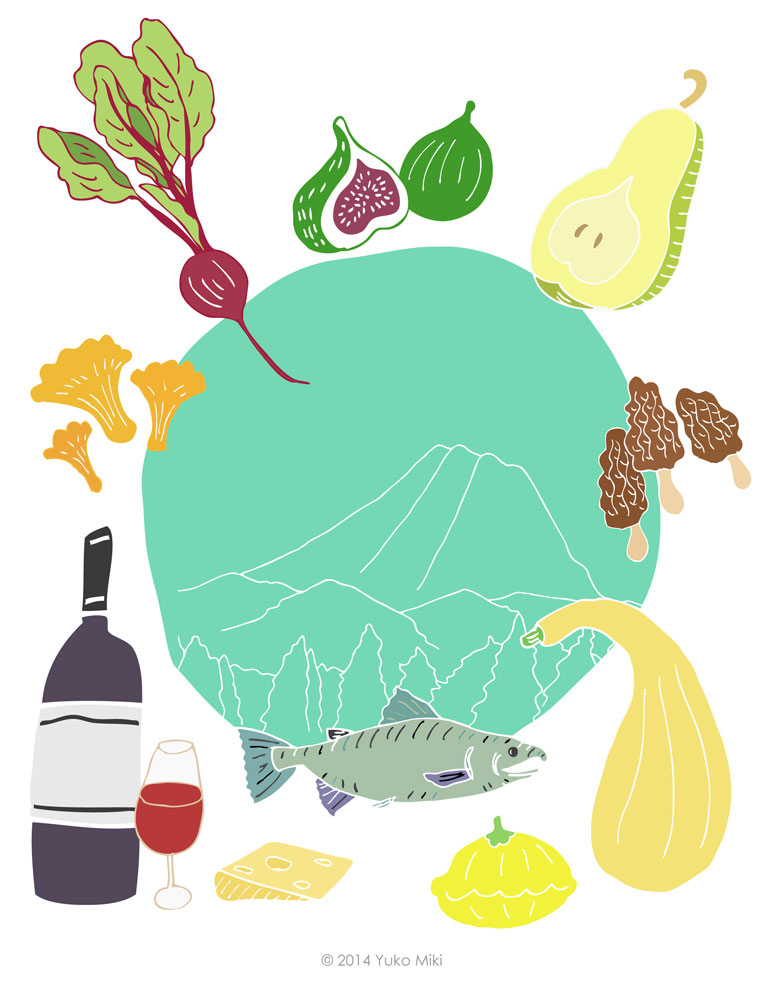
As for the color illustration for the book cover, I decided to use the colored version of the spot illustrations to create a consistency of the look. I also just really liked them 🙂 I used the live paint function in Adobe Illustrator to make colored illustrations for this project.
add beautiful colors to the black & white drawing!
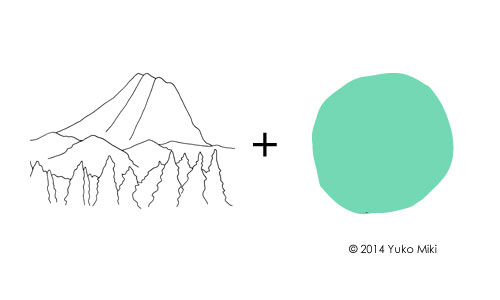
To tie it all together on the cover, I used the same circle shape as the spot illustration in the center. As a way to give a sense of location, I made a line drawing of Mt. Rainier to place in the circle.
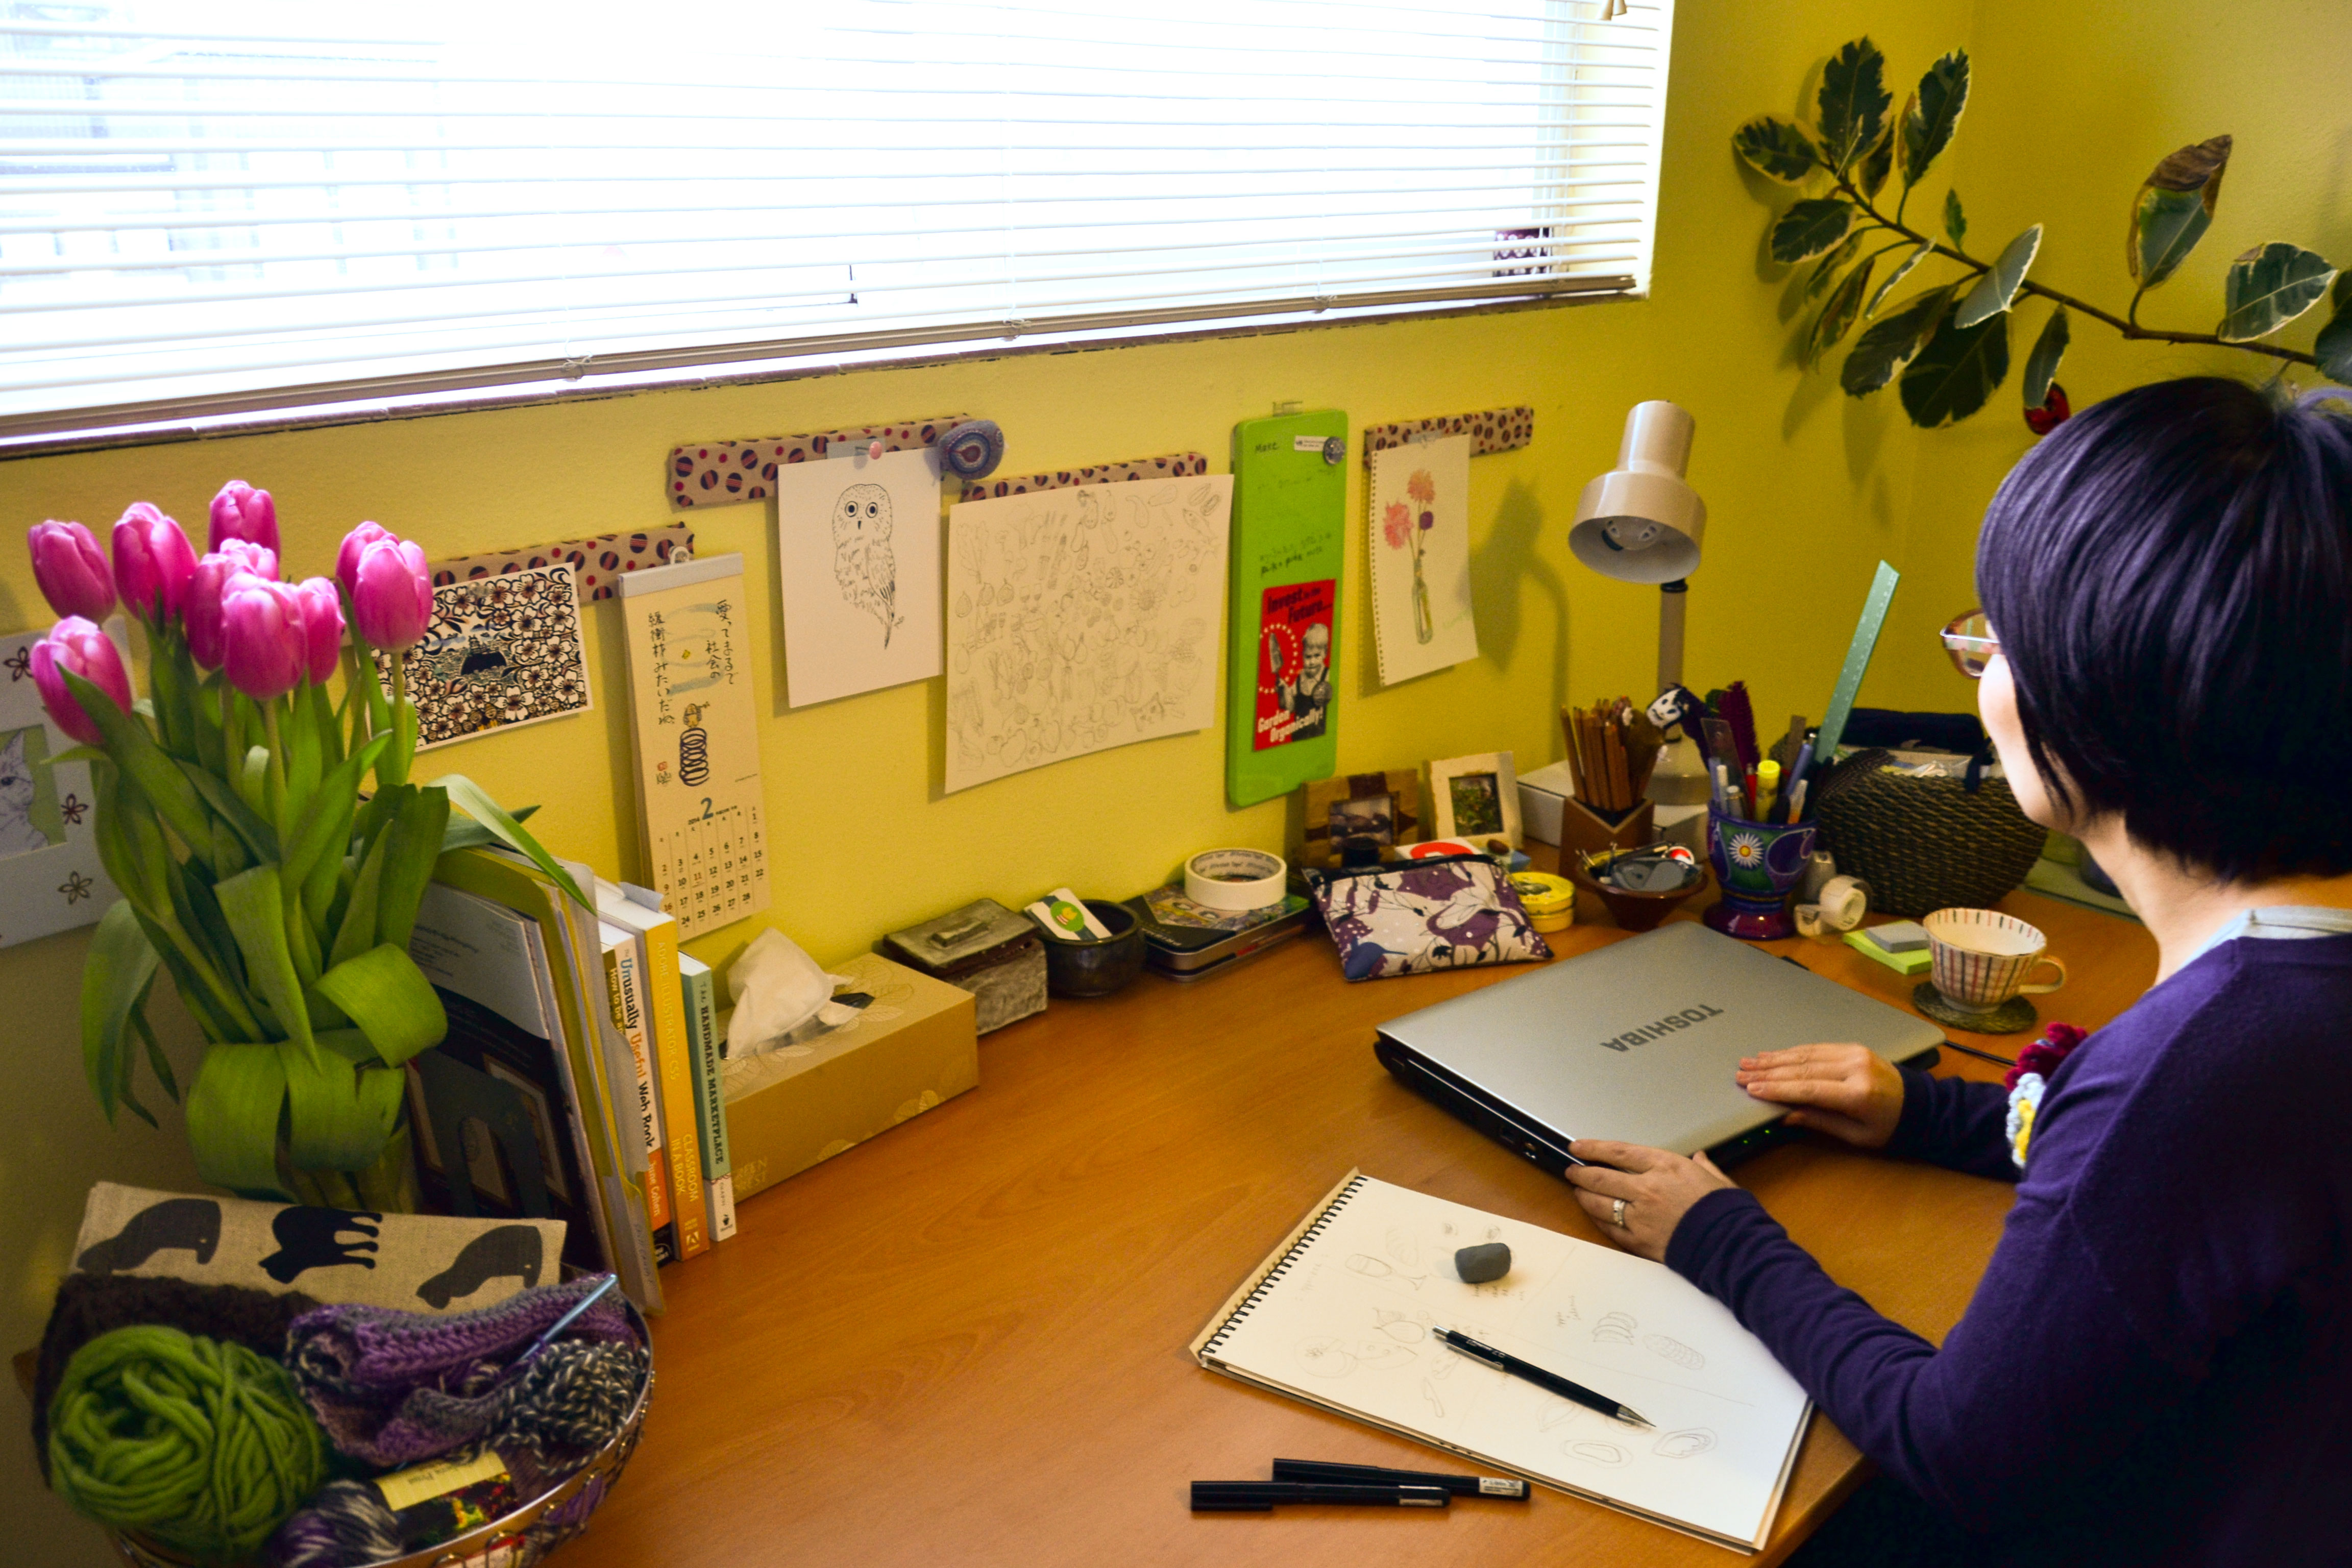
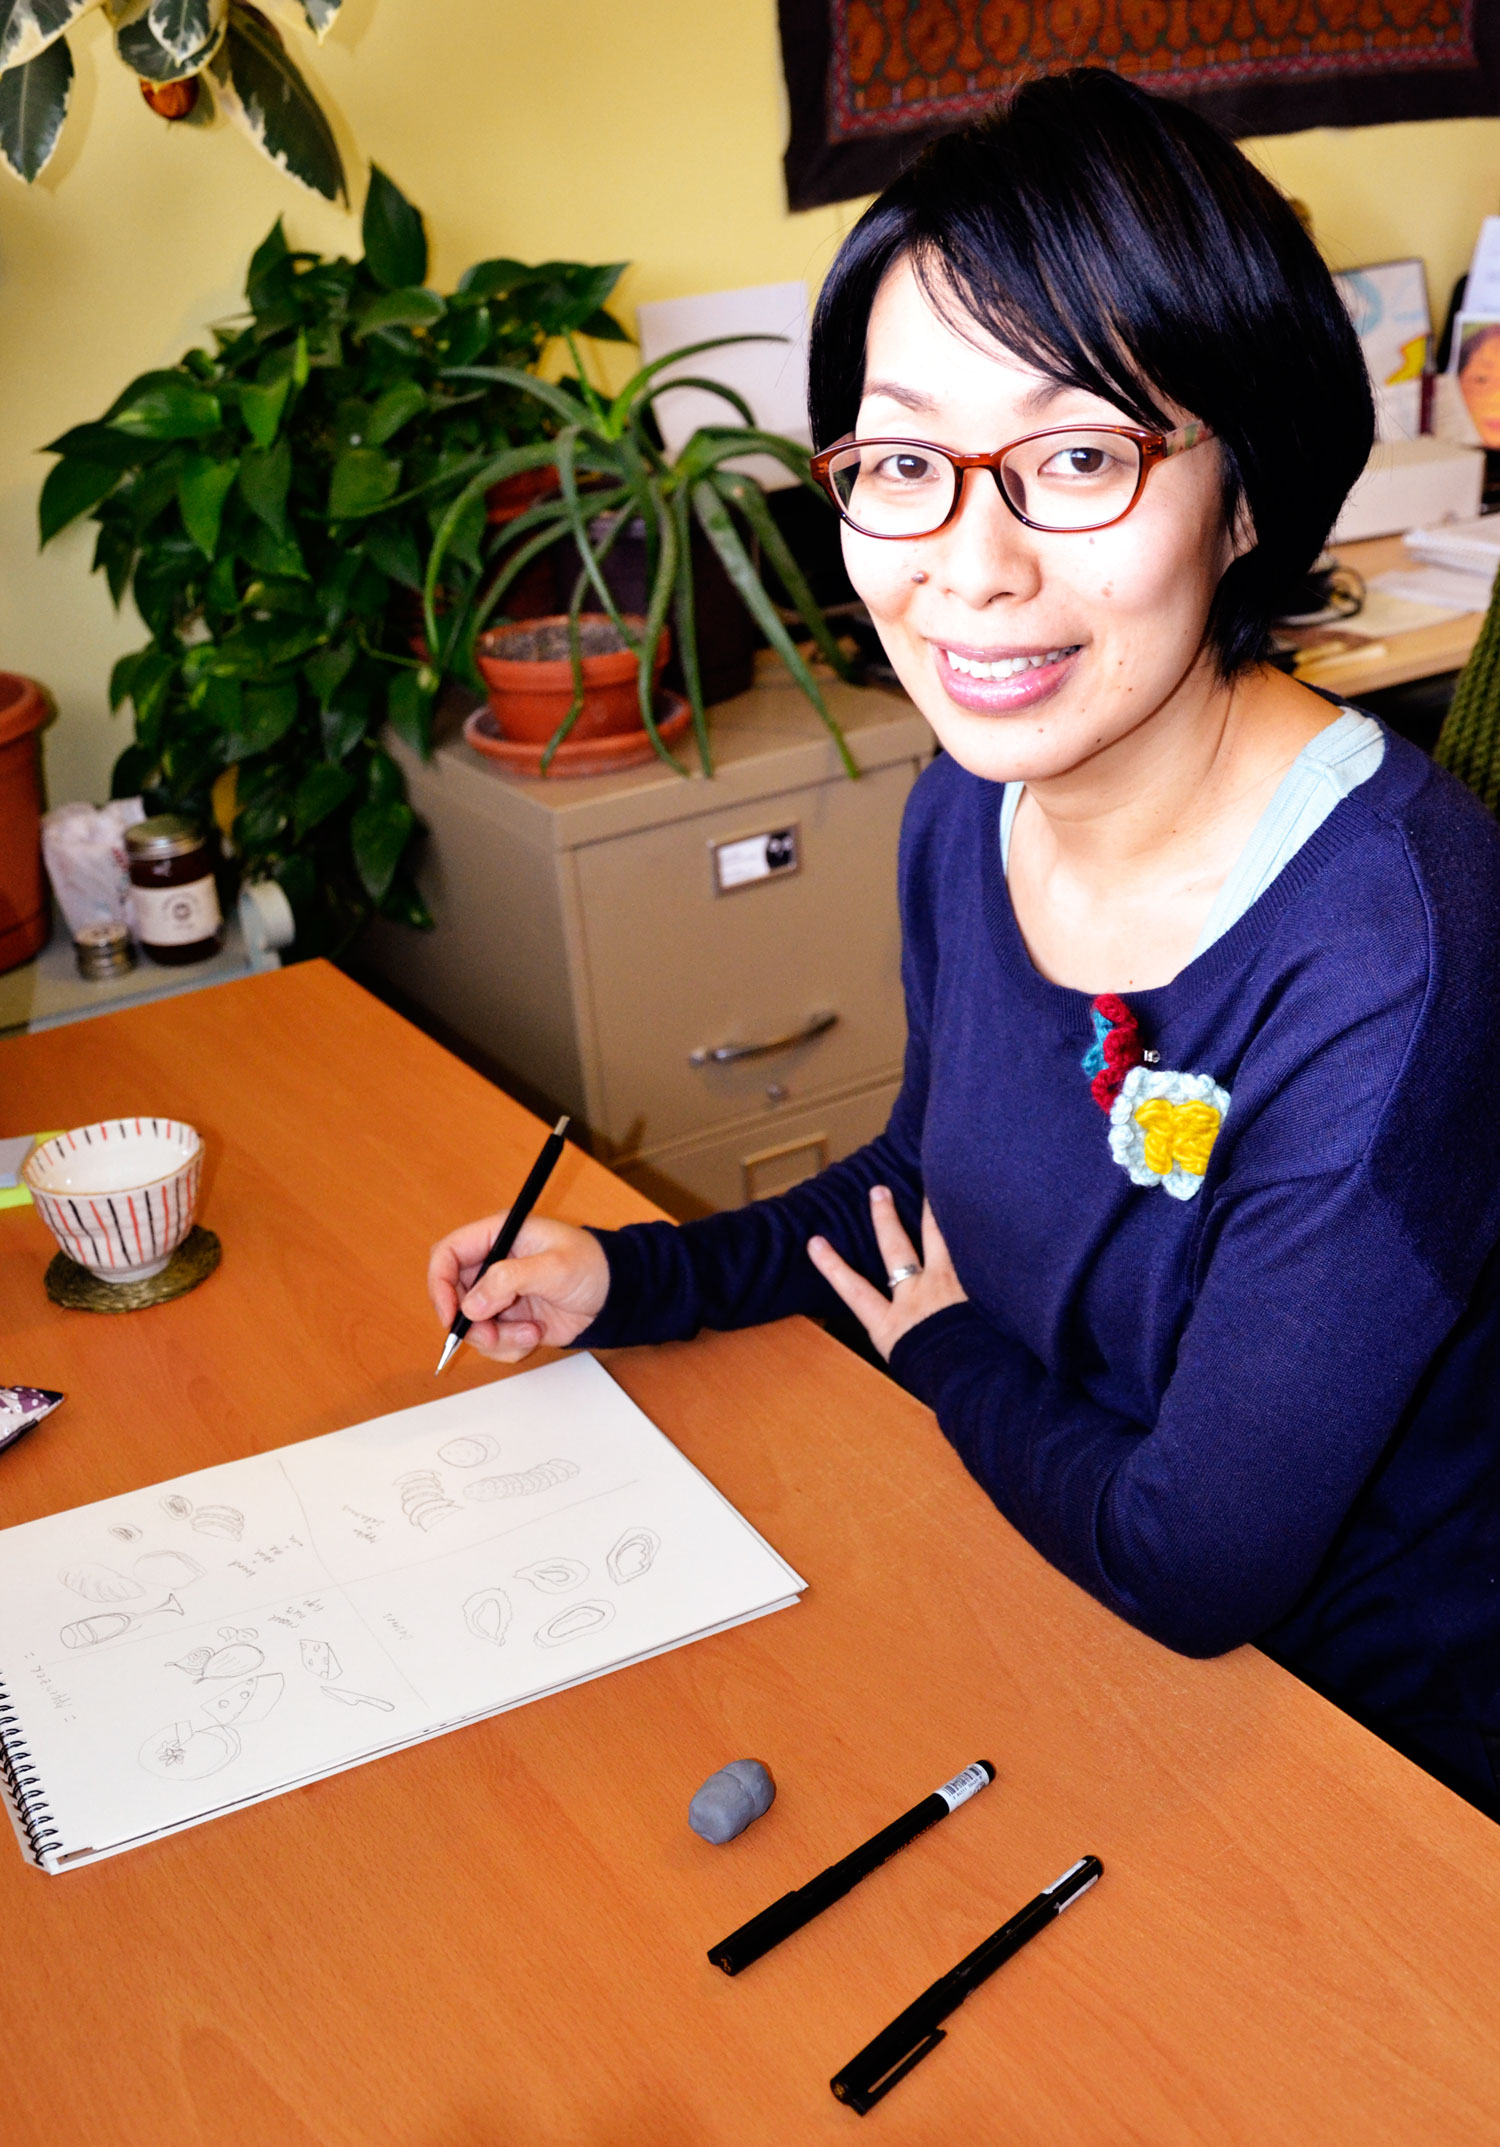
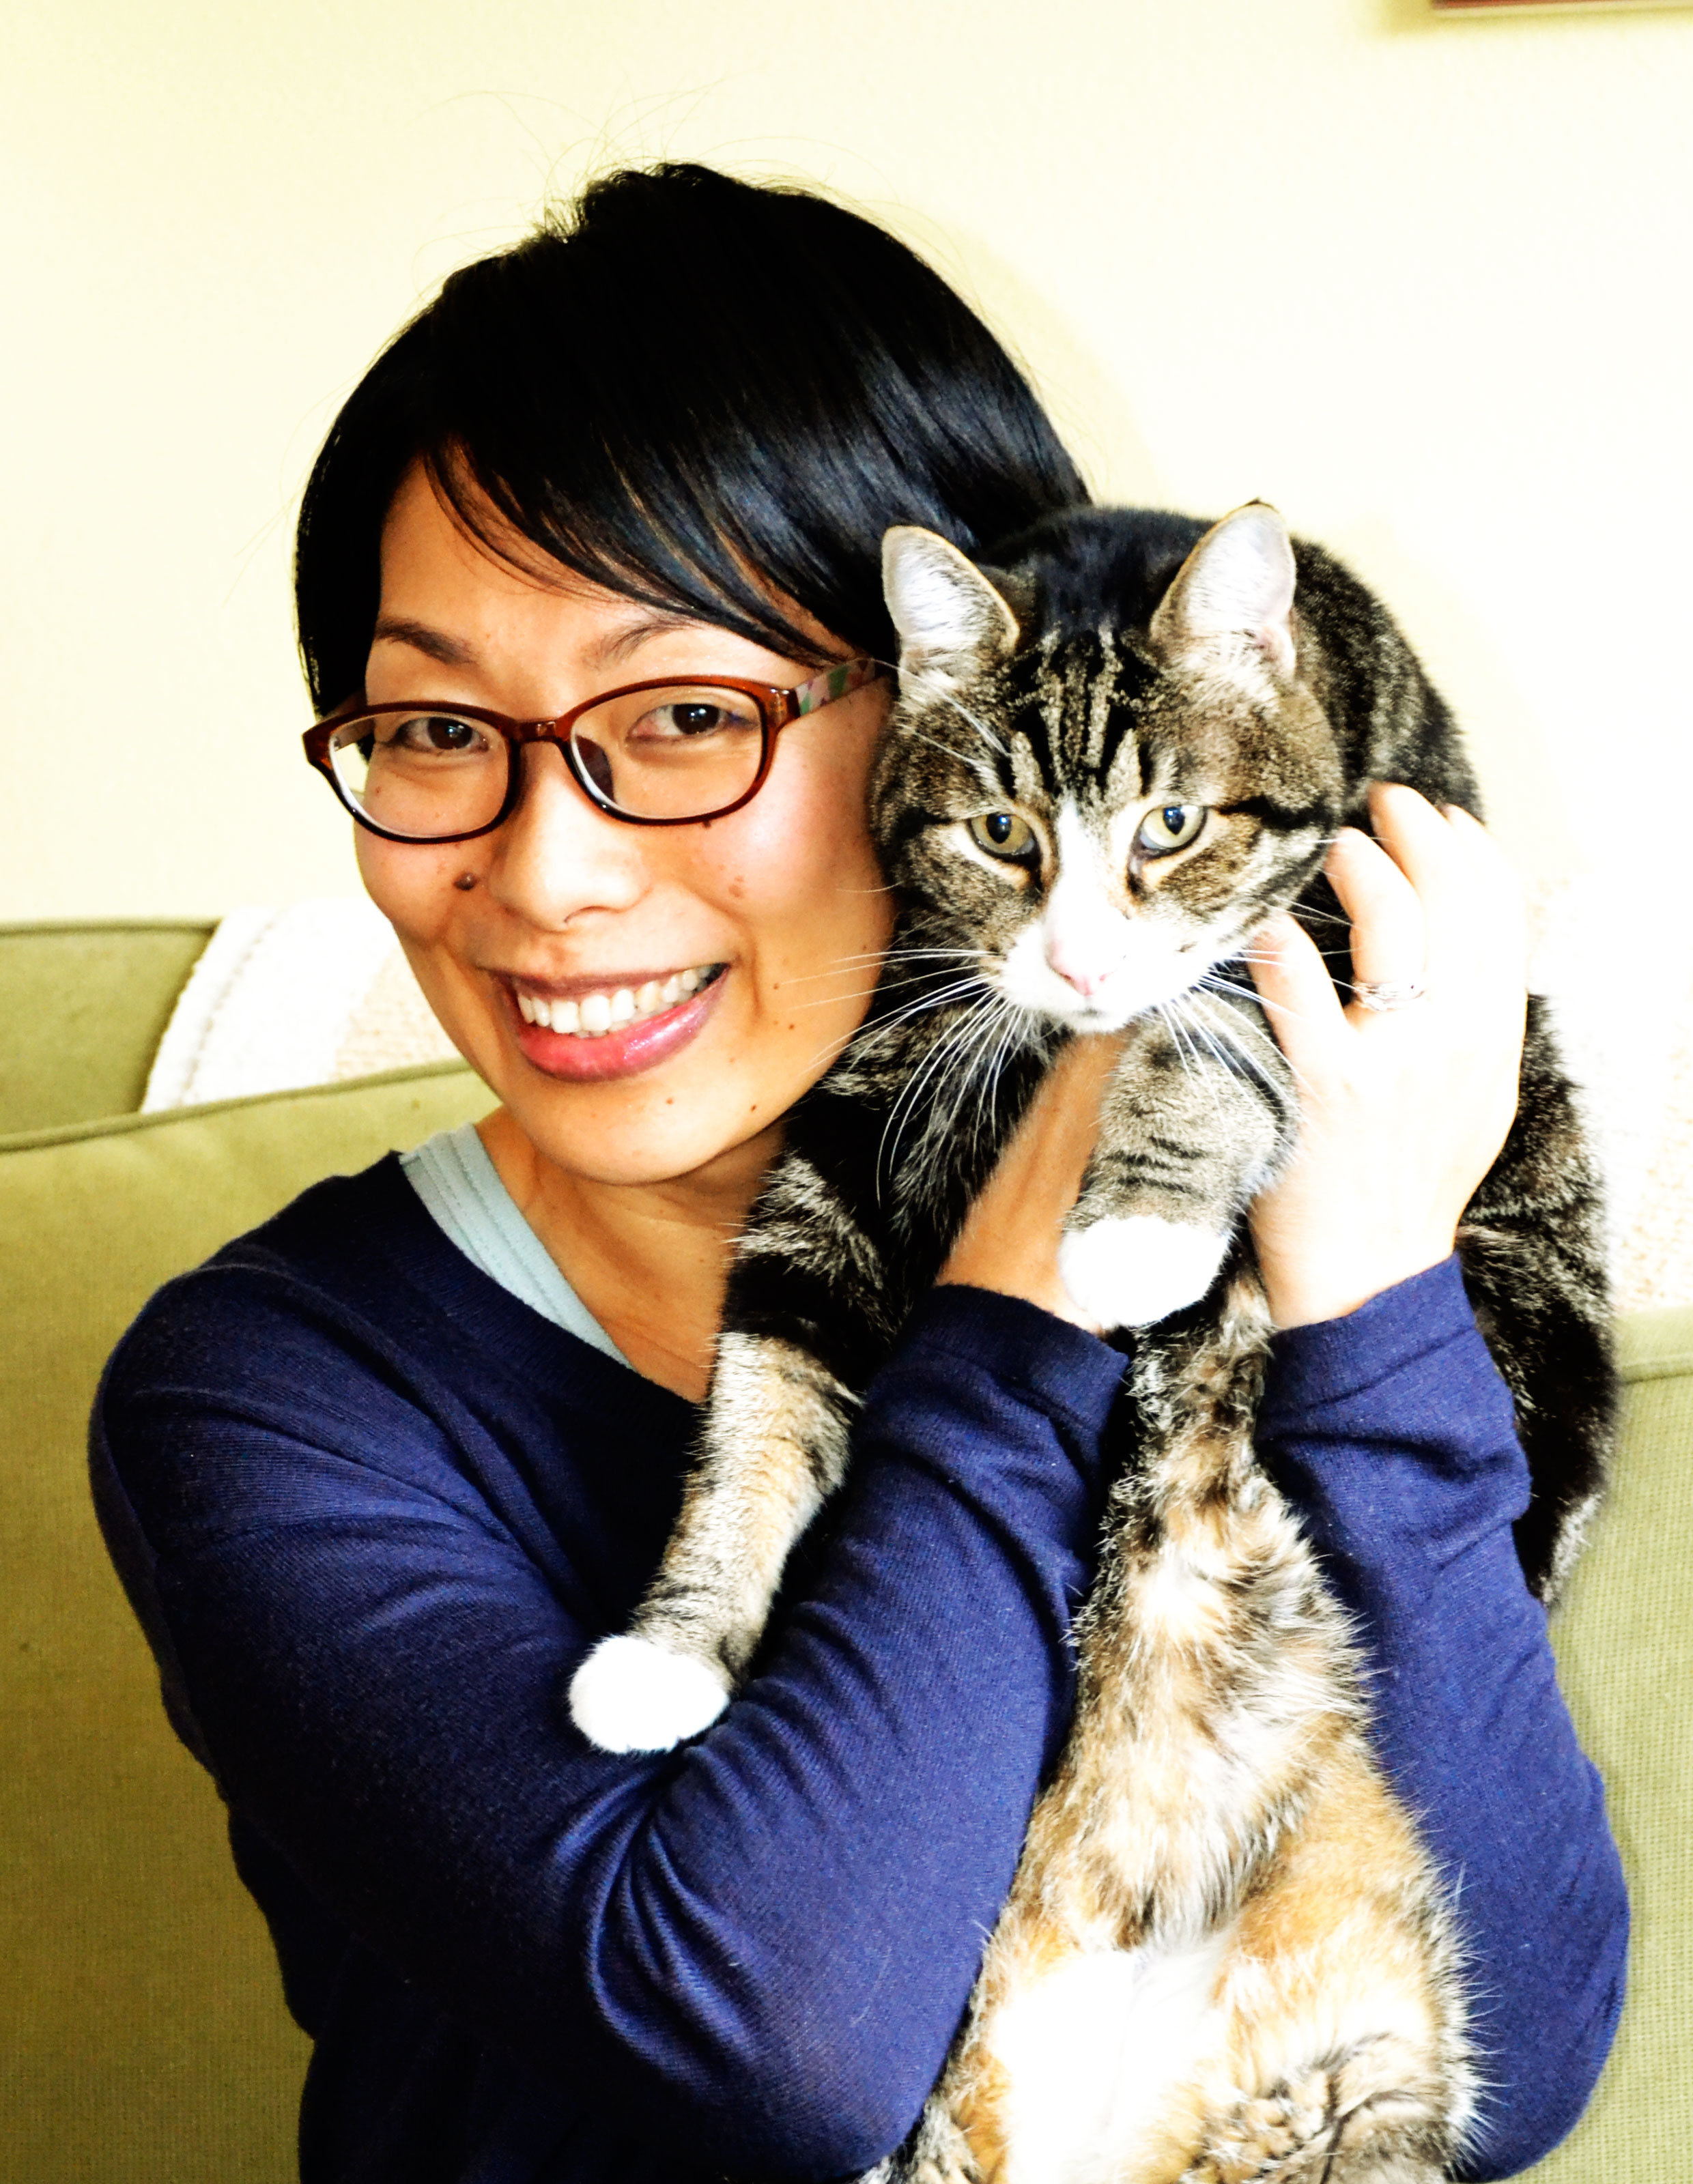
I was in need of good head shots to use on my website etc, so I had asked my good friend Dan to come over and take photos of me in my home office/studio!
Dan was one of the people who took beautiful photos at our wedding last summer, and I knew she was the right person for the job! Plus she’s just a great person to be around 🙂
Without further ado, here are some of the photos of me, my work/creative space, and of course, my kitty. I’m very happy with how these images turned out!
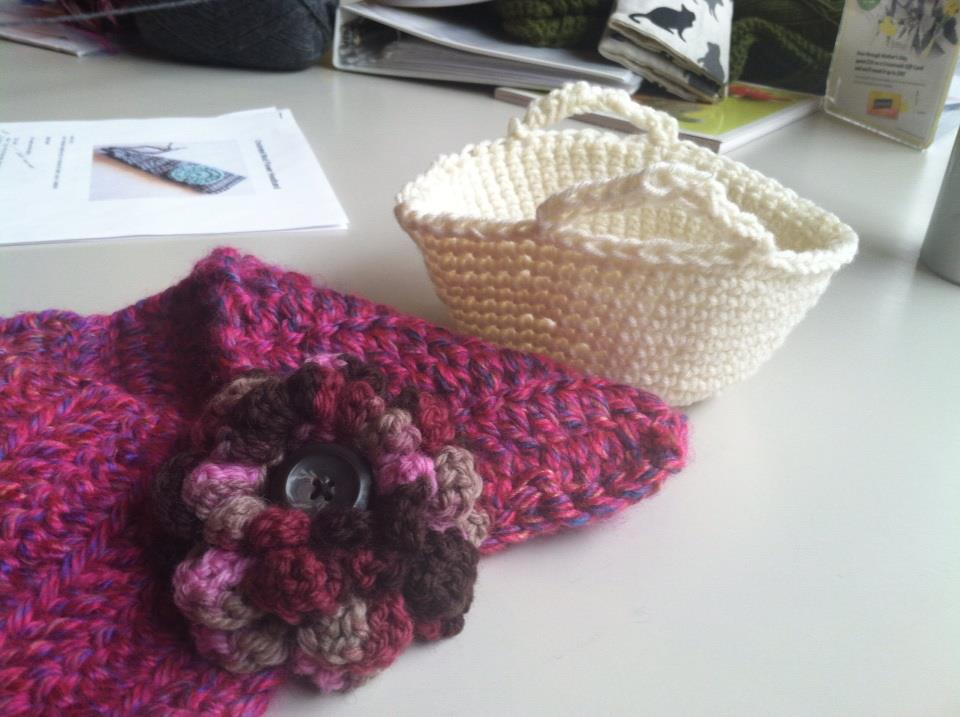
I’ve been crocheting for about 9 years now. I don’t even remember why I started it, but I bought a “how-to-crochet” book at a craft store one day, and I started crocheting. The book I got was written for kids, so it was very easy to understand and follow.
I kept learning new stitches and made new things. It was ok that sometimes it looked funny or didn’t come out quite the way I wanted. I felt it was pretty therapeutic to crochet, and you can crochet pretty much anywhere, anytime! It also felt good to know how to make something to meet my needs e.g. “I want cute fingerless gloves.” →”I can make them myself!”→”I love the cute fingerless gloves I made! And my hands are warm!”
When I had my craft booth at a Japanese New Year’s event last year, a bunch of people stopped to compliment my crochet wears. They also asked if I could teach them how to crochet. I hadn’t taught crochet before, but I don’t like saying “I can’t,” so naturally, I was getting their contact information and telling them I would be in touch to let them know when the classes would be happening.
A couple of months later, I had my first Crochet Basics class for Japanese people. The Basics class is open to anyone who is interested in learning, well, the basic stitches. In the class, they learn how to make square and round dish scrub sponge using the single and double crochet stitches and making circles. I don’t mind making cute things just for the sake of making cute things, but I far prefer to make something cute and practical.
I run the Basics class every quarter or so, and I offer the Crochet Circle a few times a month. The Crochet Circle is open to anyone who knows the basics and wants a little help and/or encouragement in working on their own projects.
It’s been really fun meeting and getting to know the students! They’re just so nice and caring and fun to be around. It is great to see that they’re enjoying making their own crochet goodies, and I love our conversations about life, culture, our families etc. Their excitement and enthusiasm for the craft gives me inspiration too. I try to be a better crocheter and a teacher for them.
I don’t plan on offering classes in English anytime soon as there are other options available out there, but new students are always welcome to my Japanese crochet classes! Tell your Japanese friends about it 🙂 View the class calendar here.
When I first heard of the sensory deprivation float a few years ago, I didn’t really get it. You float in the water with no sound, light, or gravity… It sounded kind of dark and scary.
Since then I’ve been trying different meditation and relaxation techniques to manage stress. A couple of months ago, I came across a coupon for Urban Float in Seattle. I decided to have my first float on my birthday! As one of my friends put it, I was going to “spend my birthday in a fake womb.”
I made my appointment for the 50-mins float session. When I checked in, the nice woman there gave me a quick tour of the room & the pod. It was comforting to know that there is an emergency button inside of the pod…
At this facility, you have an option of floating in a pod that looks kind of like a giant, sci-fi kidney bean (pictured below). The water is kept at body temperature, and it is a highly saturated epsom salt and water, so your body floats even though the water is less than knee deep. Once you’re in, you can close the top all the way, or leave it cracked, depending on your comfort level. You wear ear plugs so the water won’t get in your ears. This also helps shut out any noise while you float.
After showering, I wasted no time getting my floatin’ on. I got in the pod, closed the top all the way and lied down in the water. It was a strange feeling to just “float.” Normally, when I’m in the pool or the ocean, I’m trying to swim or move about in the water. But here, you just lie still.
It took me a few minutes to relax my head. I’m so used to laying on something solid, something to support my head, so letting my neck to relax in the water was hard. I was afraid my face is going to be under the water.
I was eventually able to let the water support my head, and my eyes, nose and mouth stayed above water. They play a soothing music for the first and last 5 minutes of your session.
I tried not to move my body once I got the hang of floating. For some reason I was drifting inside of the pod.Eventually, I stopped drifting. But whenever I focused on not moving my legs or arms, it started twitching! Because you don’t have other sensations, I became very sensitive to every little move I made in the water. I felt the water around me rippling with the subtlest of moves.
I thought I read on their website that the light inside of the pod would automatically turn off with the music, so I just floated there for several minutes. I opened my eyes to see if the light had turned off, but it was on… Actually, it stayed on for the entire time. I could’ve turned it off manually, but at that point, I didn’t feel like getting up to push the button, so I let it go. I could also hear sounds from outside as the facility is right by a busy street.
I got out of the pod, showered, and got dressed. I felt super relaxed and a little groggy afterwards. I drank lots of water and cooled off before heading out to the busy outside world!
My very first floating experience didn’t exactly knock my socks off, but it really helped me feel relaxed and detoxed. I would be very curious to see how I would feel if I had an actual “sensory deprivation” experience, you know, without any light or sounds. I’m sure it affects different people differently. If you ever wonder what it’s like, try it and see how you feel!